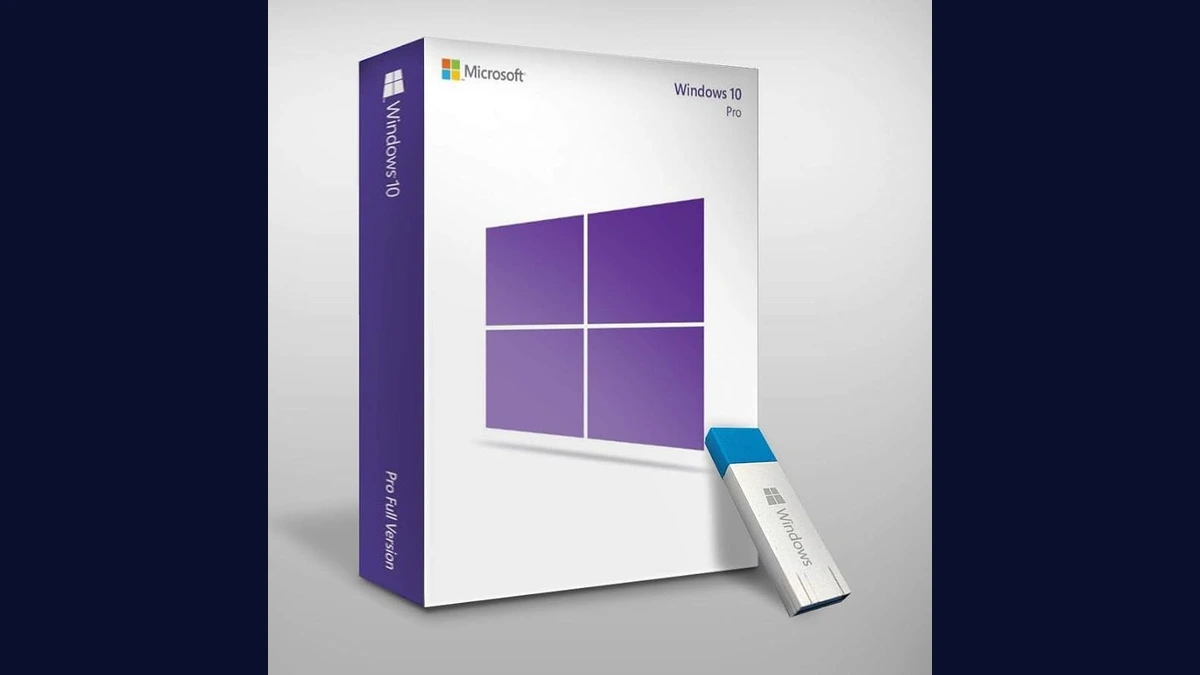
Windows 10 Pro
Microsoft Windows 10 Pro - the professional edition of Windows 10 with advanced security, remote desktop, and enterprise management features.
4 retailers

This tutorial takes about 2 minutes to complete.
Open Task Manager (search for it in the Start menu), go to the Performance tab, and select CPU. Look for the Virtualization entry near the bottom — if it says Enabled, your PC is ready and you can skip ahead to Step 3.
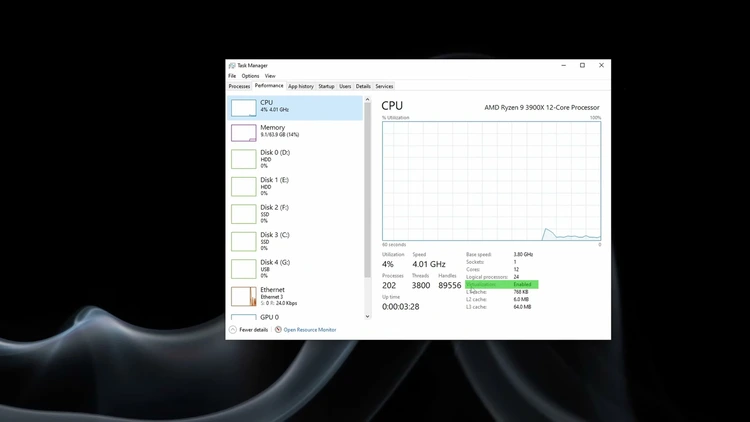
If Task Manager showed virtualization as disabled, restart your PC and enter its BIOS/UEFI setup. Find the virtualization option (often labeled VT-x or AMD-V, depending on your CPU) and turn it on — check your motherboard's manual if you can't find it. Save changes and boot back into Windows.
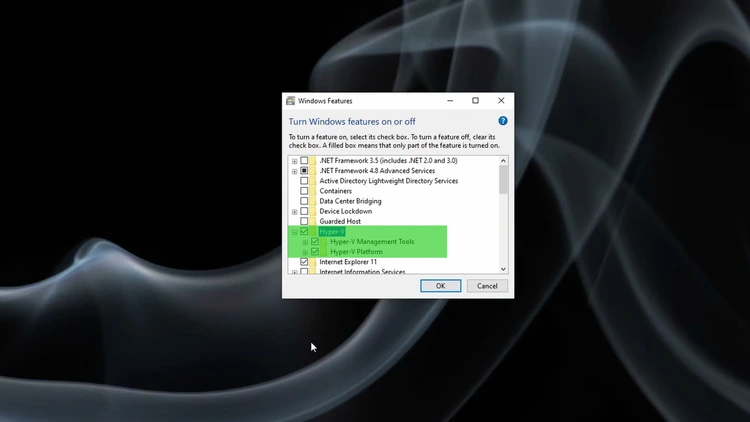
Type Windows Features into the search bar and select Turn Windows features on or off.
In the list, find Hyper-V and click the plus sign to expand it. Make sure Hyper-V, Hyper-V Management Tools, and Hyper-V Platform are all checked, then click OK to apply.
Windows needs a restart to finish installing Hyper-V. Save your work and restart when prompted.
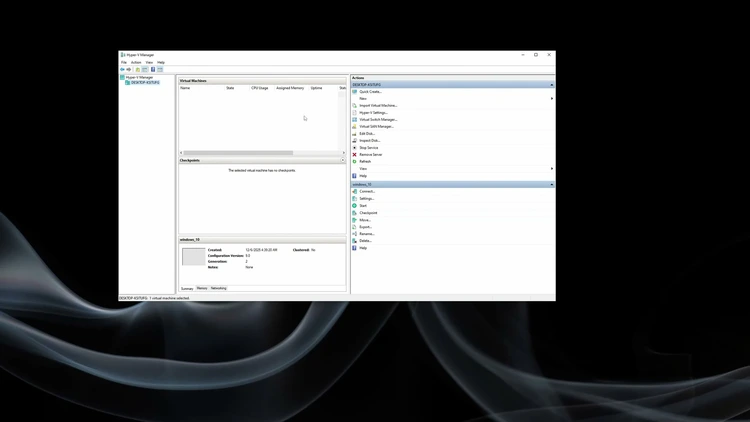
After restarting, search for Hyper-V Manager and open it. If it launches without errors, Hyper-V is active and you're ready to create virtual machines.
One email a week on local LLMs, DIY AI hardware, and the tools that power them. No spam — unsubscribe anytime.
Subscribe freeMicrosoft Windows 10 Pro - the professional edition of Windows 10 with advanced security, remote desktop, and enterprise management features.