AMD Ryzen 9 9950X
16-core, 32-thread AMD Ryzen 9 9950X desktop processor (Zen 5, AM5) with 5.7 GHz max boost and Radeon graphics — AMD's flagship mainstream CPU.
3 retailers


This tutorial takes about 2 minutes to complete.
This guide shows how to install Visual Studio Code on Zorin OS 18.1 with apt: download the .deb file, install it with one command and start it. It follows the video, and every command below is the one typed on screen, ready to copy.
You need a computer running Zorin OS 18.1, an internet connection and your account password: the install command asks for it.
Jump to a chapter in the video: Download .deb · Install .deb · Run VS Code
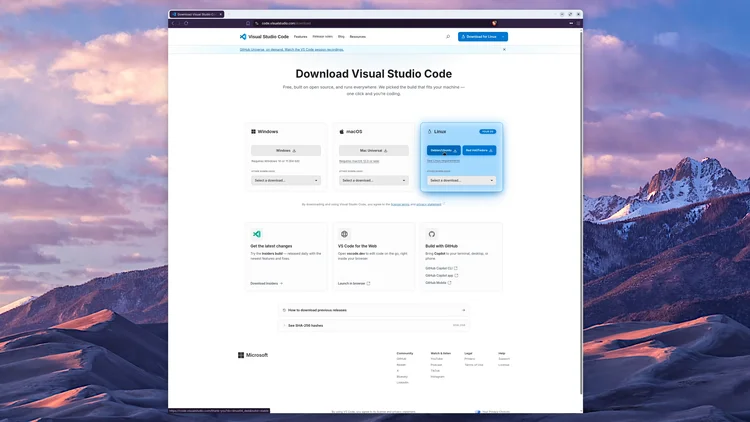
Open your browser and go to code.visualstudio.com/download. Download the Debian/Ubuntu .deb file, which is saved in your Downloads folder. Open the Downloads folder to check that the Visual Studio Code .deb file is there, then close the window.
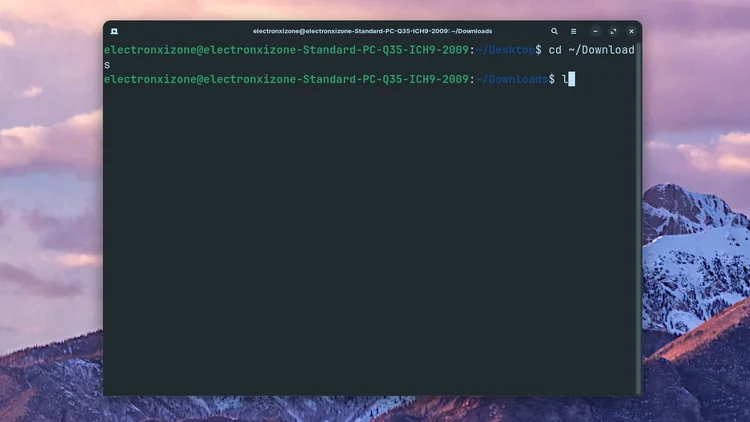
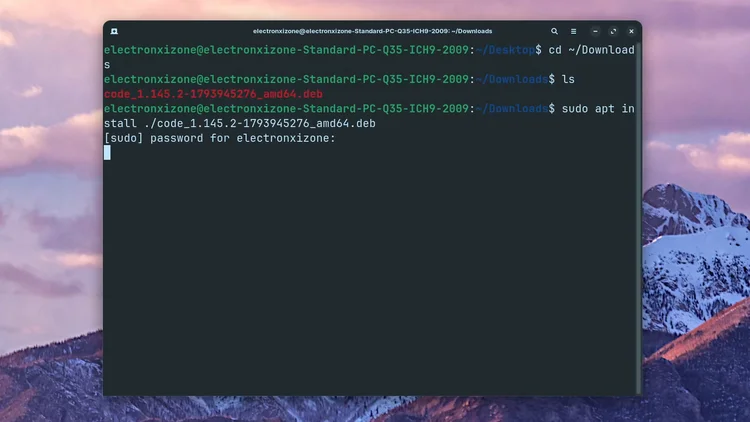
Open a terminal. Change into the Downloads folder with the first command below (the tilde is the squiggly ~ character), then run the second command to list the files and see the exact name of the .deb file.
cd ~/Downloads
ls
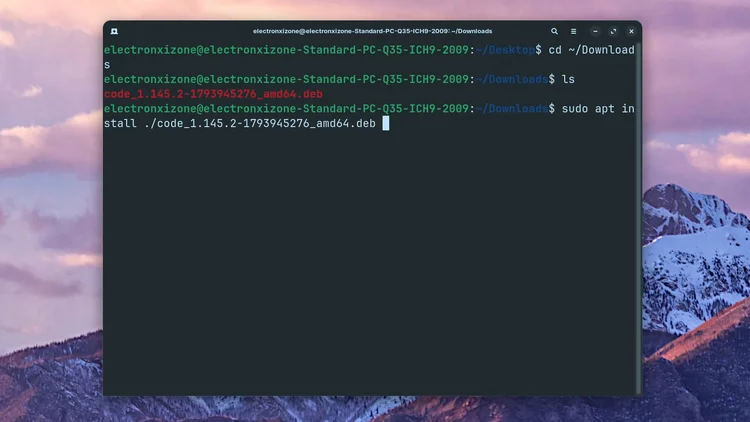
Now install the file. Type sudo apt install ./ followed by the first letters of the file name, press Tab to complete it and press Enter. The finished command is below. Enter your password and press Enter. Say yes to add the Microsoft APT repository for Visual Studio Code: it keeps VS Code up to date with the latest stable version whenever you run sudo apt update or sudo apt upgrade. Click yes.
sudo apt install ./code_1.145.2-1793945276_amd64.deb
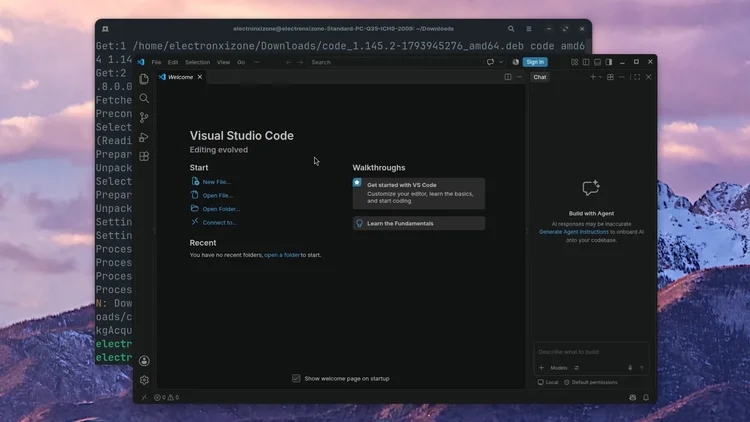
When the installation is complete, type the command below and press Enter to open Visual Studio Code. You can also open it from the applications menu: go to your applications, choose all apps, scroll down and click Visual Studio Code.
code
One email a week on local LLMs, DIY AI hardware, and the tools that power them. No spam — unsubscribe anytime.
Subscribe free16-core, 32-thread AMD Ryzen 9 9950X desktop processor (Zen 5, AM5) with 5.7 GHz max boost and Radeon graphics — AMD's flagship mainstream CPU.
AMD X870 ATX motherboard for AM5 with PCIe 5.0, DDR5, USB4, Wi-Fi 7 and 2.5GbE LAN — a modern foundation for Ryzen 9000-series desktop builds.
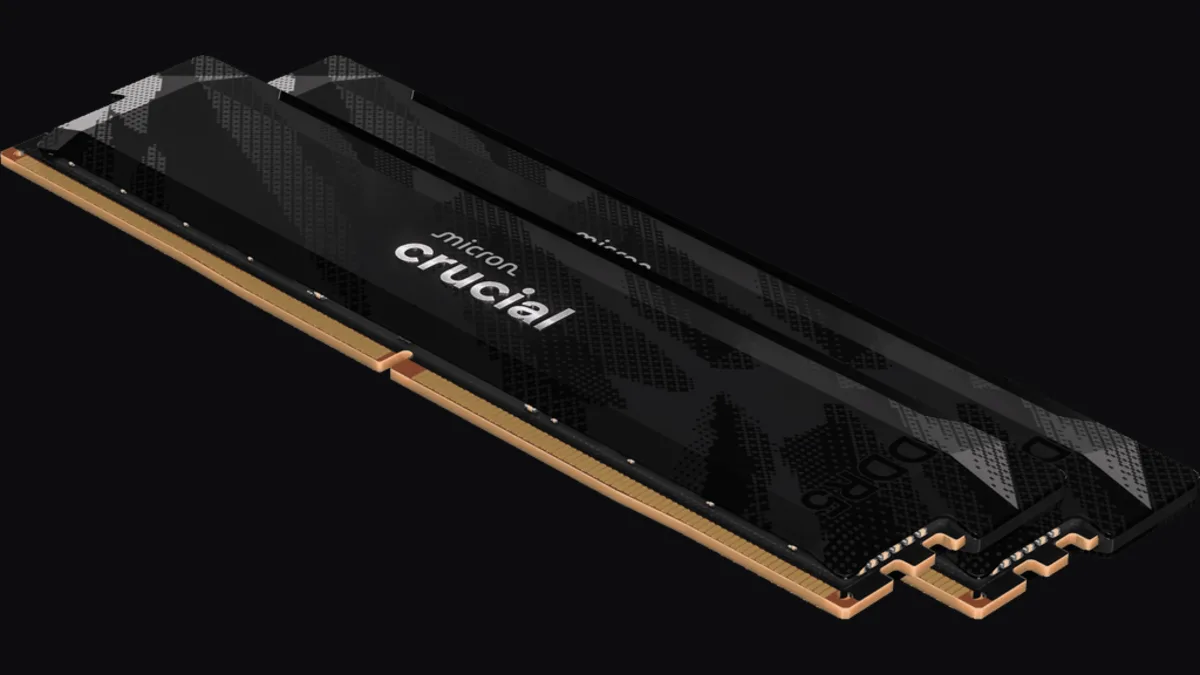
32GB (2x16GB) DDR5-6400 CL32 UDIMM kit from Crucial Pro — 1.35V overclocking memory with Intel XMP 3.0 and AMD EXPO for demanding desktop builds.
fanxiang S880R 1TB PCIe 4.0 NVMe M.2 SSD with built-in heatsink — up to 7300MB/s reads and 3D TLC NAND for high-performance desktop and console storage.