AMD Ryzen 9 9950X
16-core, 32-thread AMD Ryzen 9 9950X desktop processor (Zen 5, AM5) with 5.7 GHz max boost and Radeon graphics — AMD's flagship mainstream CPU.
3 retailers


This tutorial takes about 4 minutes to complete.
This guide walks through installing Chromium on Alpine Linux 3.22 from the community repository. Unlike distros that ship Chromium in their main repos, Alpine keeps it separate — which means one extra step to enable the right source before you can install it. The process itself is straightforward: enable the community repo, update your package index, and run apk add.
What you'll need:
Open a terminal and ensure you're logged in as the root user. If you're not already root, switch with:
su -
Enter your root password when prompted. Once authenticated, your prompt should show #.
Before installing anything new, it's always good practice to update your system first. Refresh the local package index so apk knows about the latest available versions:
sudo apk update
This downloads the latest package lists from all configured repositories. It takes a few seconds on a typical connection.
Before we can install Chromium, we need to verify that Alpine's community repository is enabled. Run this command to view your active repositories:
cat /etc/apk/repositories
Look through the output for a line starting with community. If it's there and not commented out (no # at the beginning), you're good — skip ahead to Step 6. But on many fresh installs, that line is either missing entirely or commented out, since only the main repository is enabled by default.
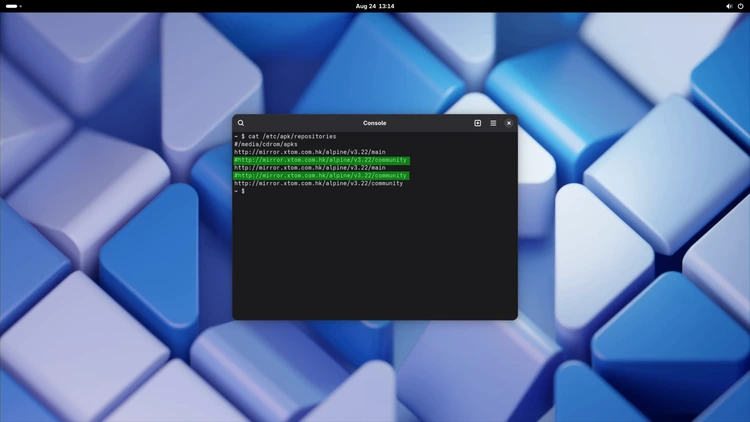
If you didn't see an uncommented community line in the previous step, open /etc/apk/repositories for editing:
vi /etc/apk/repositories
Find the lines that start with # https://dl-cdn.alpinelinux.org/alpine/edge/community and remove the # from the beginning of each line so they look like this:
https://dl-cdn.alpinelinux.org/alpine/edge/main
https://dl-cdn.alpinelinux.org/alpine/edge/community
Save and exit with :wq. Now run apk update again to pick up the newly enabled repository:
sudo apk update
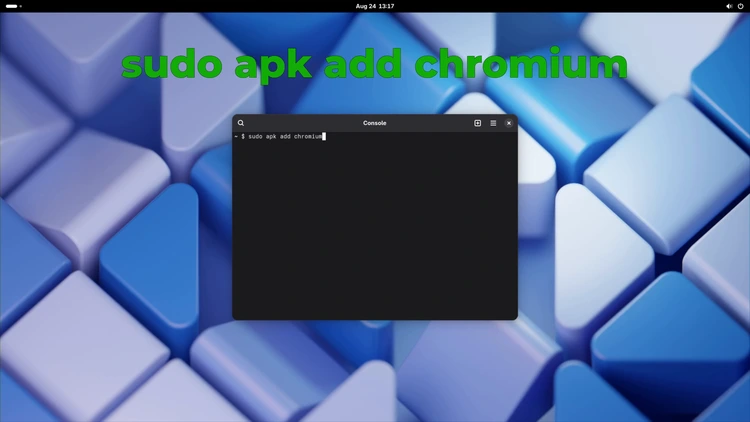
With the community repository enabled, install Chromium:
sudo apk add chromium
apk will resolve all dependencies automatically and display a list of packages it's about to install. Press Y when prompted to confirm. This may take a minute depending on your connection speed — Alpine downloads each package individually, so the time varies based on how many dependencies are involved.
Once apk finishes, confirm that Chromium installed successfully by checking its version:
chromium --version
You should see output like Chromium 129.0.6668.58-r0 (the exact version number depends on what's current in the community repo at the time of install). If it prints a version string, Chromium is installed and ready to use.
Start Chromium directly from your terminal session:
chromium
This launches the browser in the foreground. If everything worked, you should see the Chromium window open with either a new tab page or whatever your last session was set to restore.
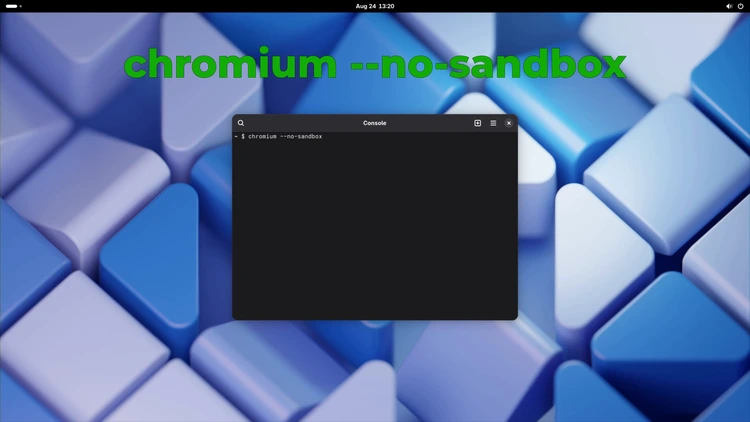
If you're running Chromium as the root user (which is common when following tutorials on a fresh VM), it will refuse to launch and display an error about sandboxing. This is intentional — Chromium's security model doesn't allow running with root privileges by default.
To work around this, add the --no-sandbox flag:
chromium --no-sandbox
This disables the sandbox and lets Chromium start normally as root. It's fine for a personal workstation or development environment, but avoid using it on shared systems where multiple users have access.
If you're running a desktop environment, you can also launch Chromium from your application menu instead of the terminal. Open your app launcher and look for "Chromium" or "Web Browser" — it should appear in the Internet or Web Browser category depending on your setup.
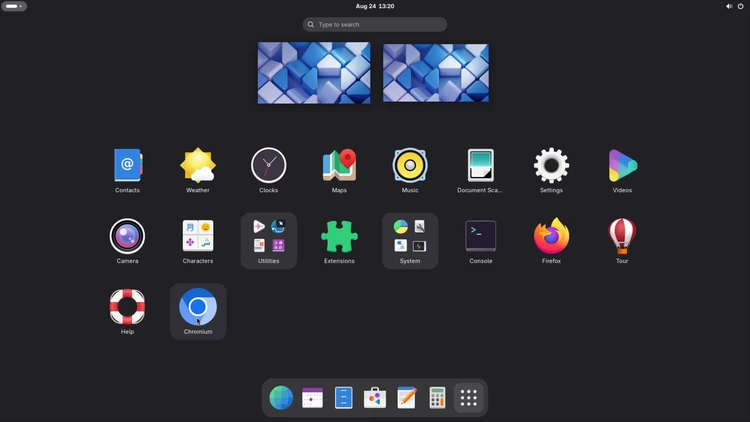
That's it — Chromium is installed and ready to use on your Alpine Linux 3.22 system. You can launch it from the terminal with chromium, from the applications menu, or via a desktop shortcut if you create one.
One email a week on local LLMs, DIY AI hardware, and the tools that power them. No spam — unsubscribe anytime.
Subscribe free16-core, 32-thread AMD Ryzen 9 9950X desktop processor (Zen 5, AM5) with 5.7 GHz max boost and Radeon graphics — AMD's flagship mainstream CPU.
AMD X870 ATX motherboard for AM5 with PCIe 5.0, DDR5, USB4, Wi-Fi 7 and 2.5GbE LAN — a modern foundation for Ryzen 9000-series desktop builds.
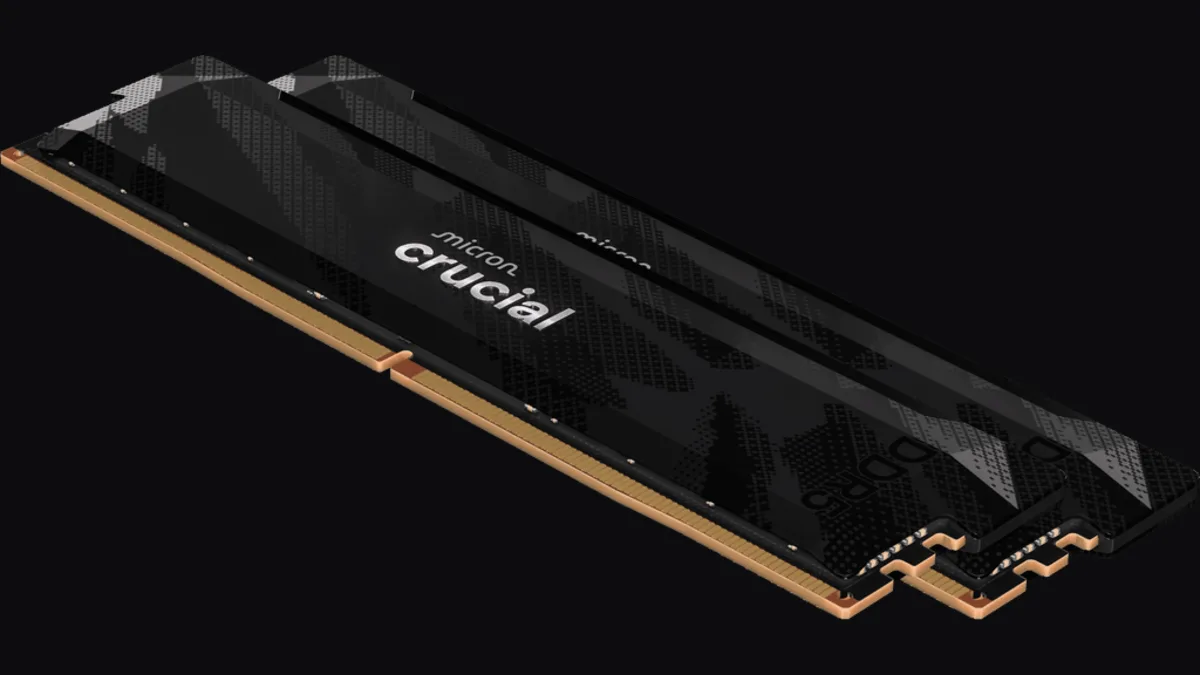
32GB (2x16GB) DDR5-6400 CL32 UDIMM kit from Crucial Pro — 1.35V overclocking memory with Intel XMP 3.0 and AMD EXPO for demanding desktop builds.
fanxiang S880R 1TB PCIe 4.0 NVMe M.2 SSD with built-in heatsink — up to 7300MB/s reads and 3D TLC NAND for high-performance desktop and console storage.