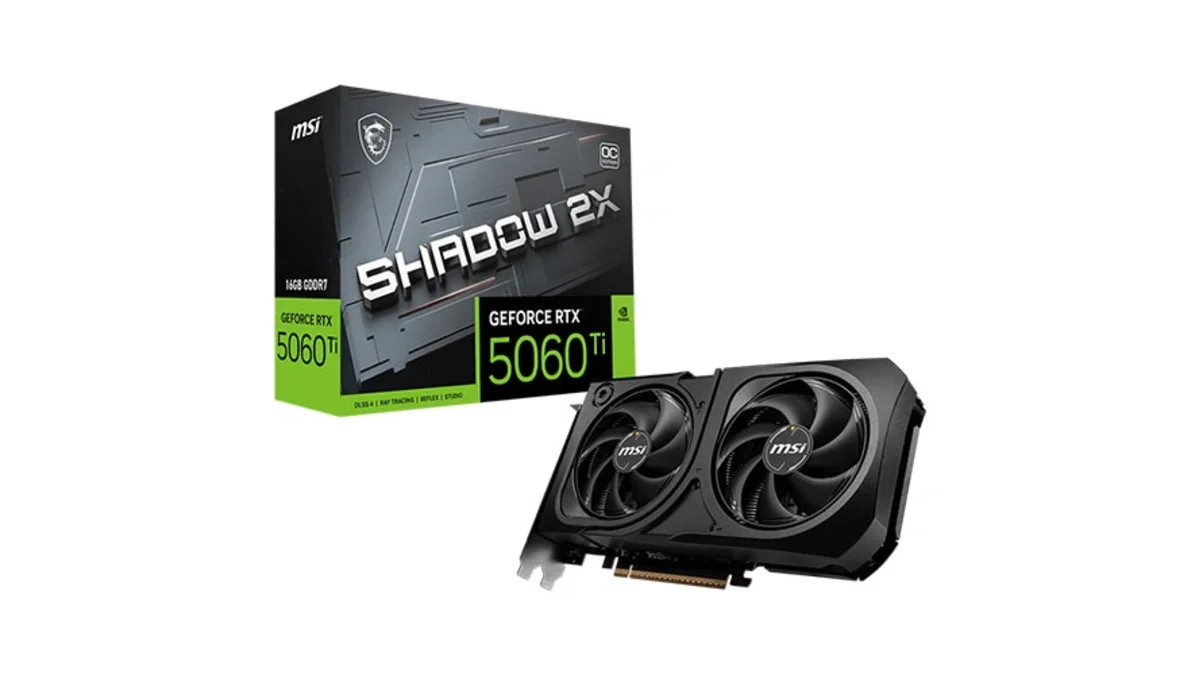
MSI GeForce RTX 5060 Ti 16G SHADOW 2X OC PLUS
MSI GeForce RTX 5060 Ti 16GB GDDR7 graphics card with dual-fan thermal design and HDMI 2.1b DisplayPort 2.1b for gaming and content creation
4 retailers


This tutorial takes about 5 minutes to complete.
This guide shows how to install Ollama on Windows 11 and run your first local AI model: download the installer, check the install in the Command Prompt, run Qwen 3.5 0.8B, check that it uses your GPU and chat in the Ollama app with documents and images. It follows the video, so you can read each step here and watch it there.
You need a computer running Windows 11 and an internet connection. A supported AMD or NVIDIA GPU makes models faster, but Ollama also runs on the CPU. The model used here, Qwen 3.5 0.8B, is small (about 1.2 GB).
Jump to a chapter in the video: Download · Install · Check it · Run a model · GPU and chat
Open your browser, go to ollama.com/download/windows, select Windows and click Download manually. When the download is finished, open your Downloads folder and close the browser.
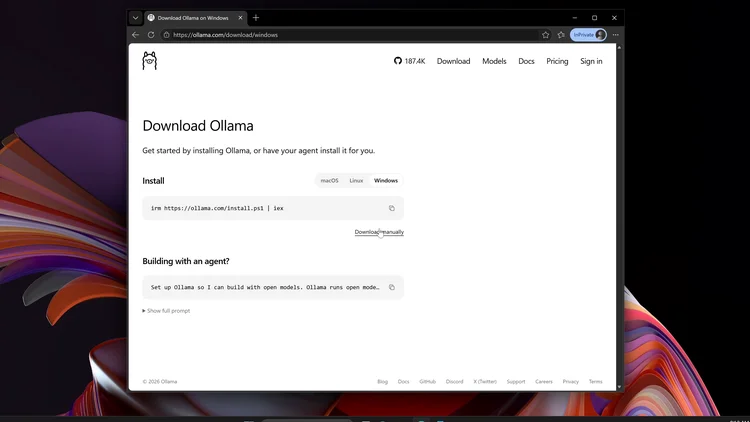
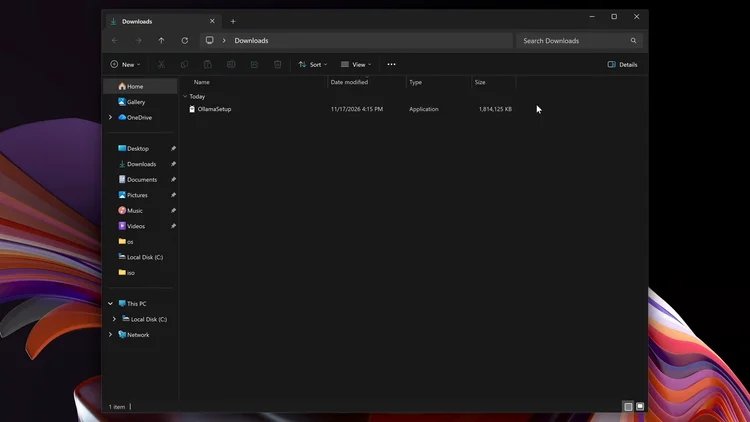
Double-click the OllamaSetup file and click Install. Ollama detects your GPU automatically (AMD or NVIDIA) and falls back to the CPU if there is none. When it is done installing, the app opens; if it does not, open the Start menu and type Ollama.
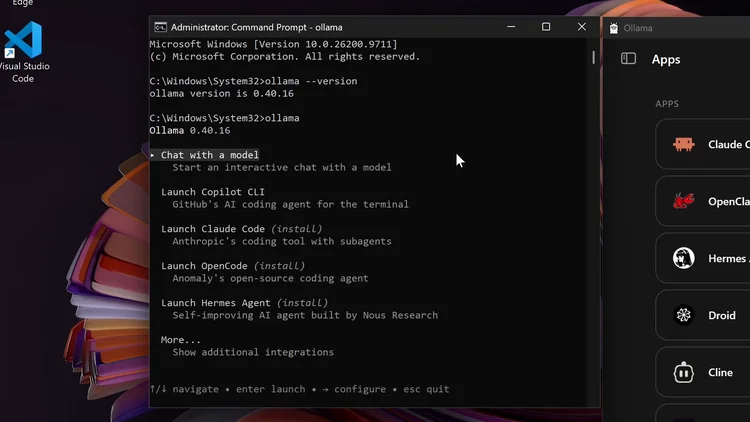
In the search bar, type cmd and choose Run as administrator, then click Yes. Check the install with ollama --version (this video shows version 0.40.16), then type ollama to make sure the server is running. Close the Command Prompt when everything looks good.
ollama --version
ollama
To use the chat interface, click the Apps icon to show the sidebar and then click Chat. Models with a cloud icon need an Ollama account; to stay local, use the models with the download icon. The ones you pick are downloaded to your computer.
To get a model that is not in the menu, open your browser, go back to ollama.com and click Models. For this tutorial we download the small Qwen 3.5 0.8B model: search for Qwen 3.5, open it, scroll down to the qwen3.5:0.8b entry and click the copy icon next to the model name.
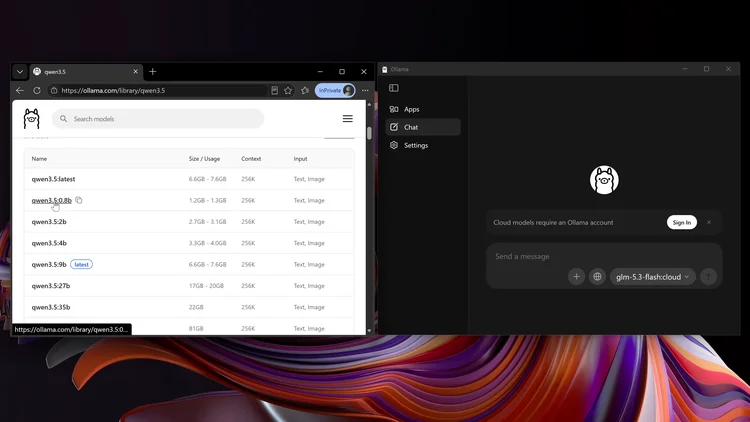
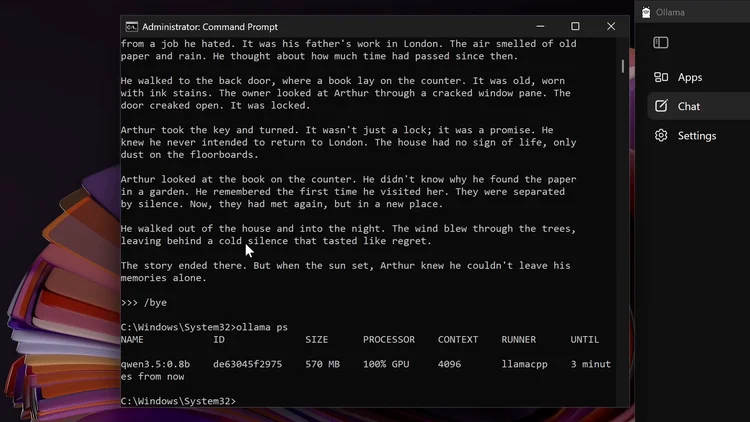
Open the Command Prompt as administrator again, type ollama run and paste the model name you copied (ollama run qwen3.5:0.8b), then press Enter. The model downloads; when it is done you can chat with it in the Command Prompt. To leave the chat, type /bye and press Enter.
ollama run qwen3.5:0.8b
/bye
To see which model is loaded and whether it runs on the CPU or the GPU, type ollama ps and press Enter; in the video the model runs 100% on an NVIDIA RTX 5060 Ti 16GB. To show statistics such as tokens per second after each answer, start the chat with ollama run qwen3.5:0.8b --verbose. Then close the Command Prompt.
ollama ps
ollama run qwen3.5:0.8b --verbose
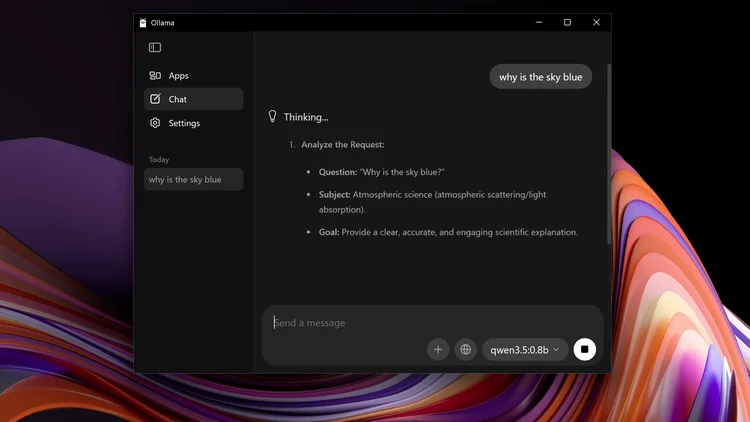
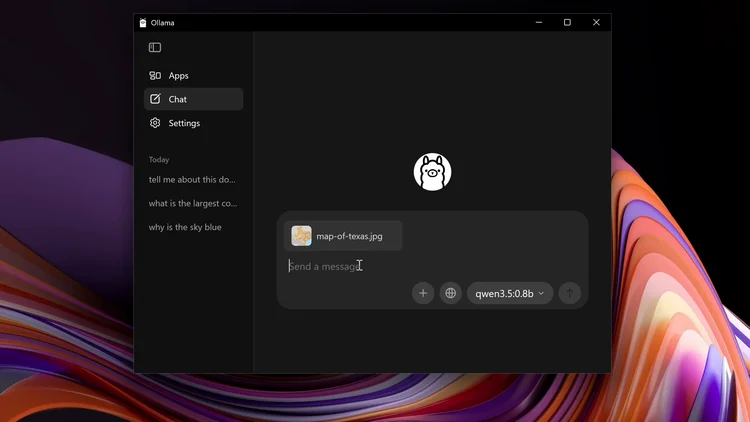
In the Ollama app, open the model menu and select the Qwen model you downloaded, then chat with it. Click Chat again to open another session, and you can add documents or pictures to a chat. Pictures need a vision model, and the Qwen models have vision.
If a chat starts giving old answers, you have probably run out of context. Go to Settings, scroll down to Context length and raise it: the default is 4K, and for real work use at least 8K, 16K or 32K. A larger context uses more VRAM.
One email a week on local LLMs, DIY AI hardware, and the tools that power them. No spam — unsubscribe anytime.
Subscribe freeMSI GeForce RTX 5060 Ti 16GB GDDR7 graphics card with dual-fan thermal design and HDMI 2.1b DisplayPort 2.1b for gaming and content creation
16-core, 32-thread AMD Ryzen 9 9950X desktop processor (Zen 5, AM5) with 5.7 GHz max boost and Radeon graphics — AMD's flagship mainstream CPU.
AMD X870 ATX motherboard for AM5 with PCIe 5.0, DDR5, USB4, Wi-Fi 7 and 2.5GbE LAN — a modern foundation for Ryzen 9000-series desktop builds.
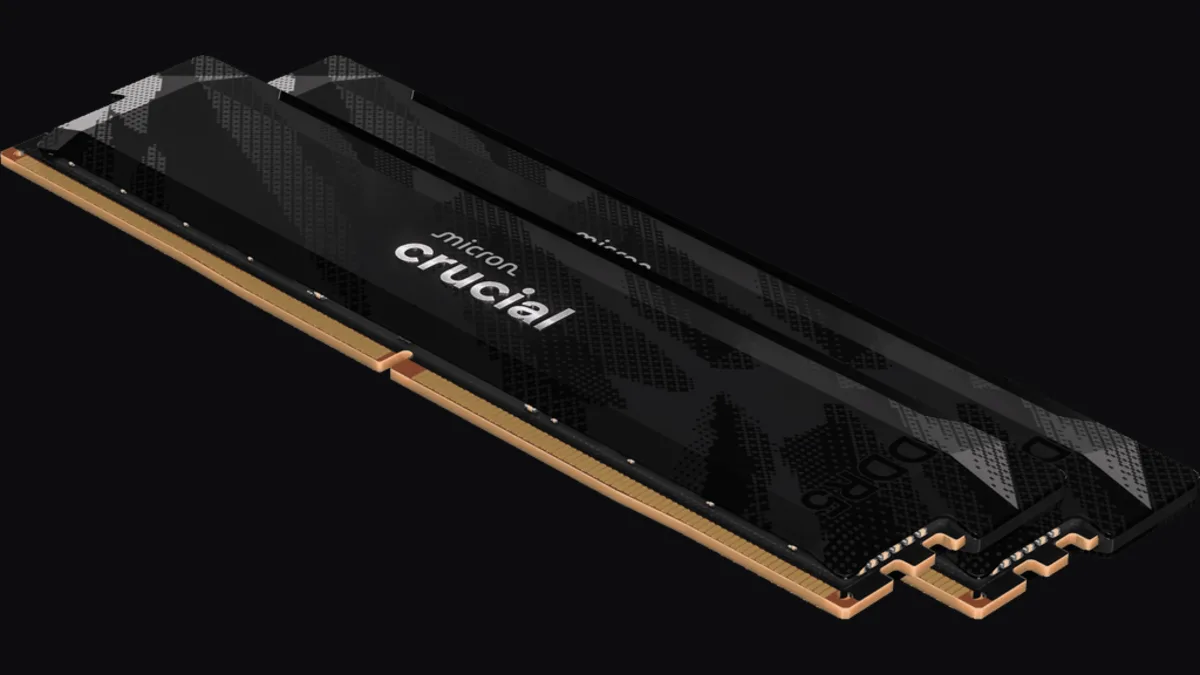
32GB (2x16GB) DDR5-6400 CL32 UDIMM kit from Crucial Pro — 1.35V overclocking memory with Intel XMP 3.0 and AMD EXPO for demanding desktop builds.
fanxiang S880R 1TB PCIe 4.0 NVMe M.2 SSD with built-in heatsink — up to 7300MB/s reads and 3D TLC NAND for high-performance desktop and console storage.