AMD Ryzen 9 9950X
16-core, 32-thread AMD Ryzen 9 9950X desktop processor (Zen 5, AM5) with 5.7 GHz max boost and Radeon graphics — AMD's flagship mainstream CPU.
3 retailers


This tutorial takes about 2 minutes to complete.
This guide walks you through installing the GNOME desktop environment on Alpine Linux 3.22 — turning a minimal, terminal-first system into a fully graphical desktop. The process is straightforward but requires running a few commands as root and dealing with one interactive prompt along the way.
What you'll need:
Open a terminal and ensure you're logged in as the root user. If you're not already root, switch with:
su -
You'll be prompted for the root password. Once authenticated, your prompt should show #.
Run the mirror configuration tool to set up the repositories that Alpine will pull packages from:
setup-apkrepos
This launches an interactive prompt asking you to choose a mirror region. The real friction point here is that real wget errors appear during the mirror speed-testing phase — genuine, authentic connection timeouts as the tool tests each server's response time. These are normal and expected: mirror testing naturally times out on some servers, but the tool keeps going until it finds a working one.
Choose "F" to let setup-apkrepos automatically select the fastest available mirror. This is the recommended option — it runs a speed test across configured mirrors and picks the best one for you. Wait for the process to complete; it may take a minute or two depending on your network.
With mirrors configured, install the full GNOME desktop:
setup-desktop gnome
This command installs GNOME along with its dependencies — expect 130+ packages to be downloaded and installed. The output will show a detailed package installation log as each component is fetched and set up. This step requires a stable internet connection since it pulls a significant amount of data.
GNOME needs a display manager to present the graphical login screen. Start GDM (the GNOME Display Manager) with:
rc-service gdm start
This starts the GDM service in the background. The command returns immediately — it doesn't block or show output.
Switch to your graphical console (usually Ctrl+Alt+F1 or Ctrl+Alt-F2) and you should see the GDM greeter screen — a clean login prompt with your username and password fields, along with options for session type. Enter your credentials and log in.
Once logged into GNOME, open the Displays settings panel (Settings → Displays) to configure your screen resolution. The default may not match your monitor's native resolution, so adjust it here for the best visual experience.
One email a week on local LLMs, DIY AI hardware, and the tools that power them. No spam — unsubscribe anytime.
Subscribe free16-core, 32-thread AMD Ryzen 9 9950X desktop processor (Zen 5, AM5) with 5.7 GHz max boost and Radeon graphics — AMD's flagship mainstream CPU.
AMD X870 ATX motherboard for AM5 with PCIe 5.0, DDR5, USB4, Wi-Fi 7 and 2.5GbE LAN — a modern foundation for Ryzen 9000-series desktop builds.
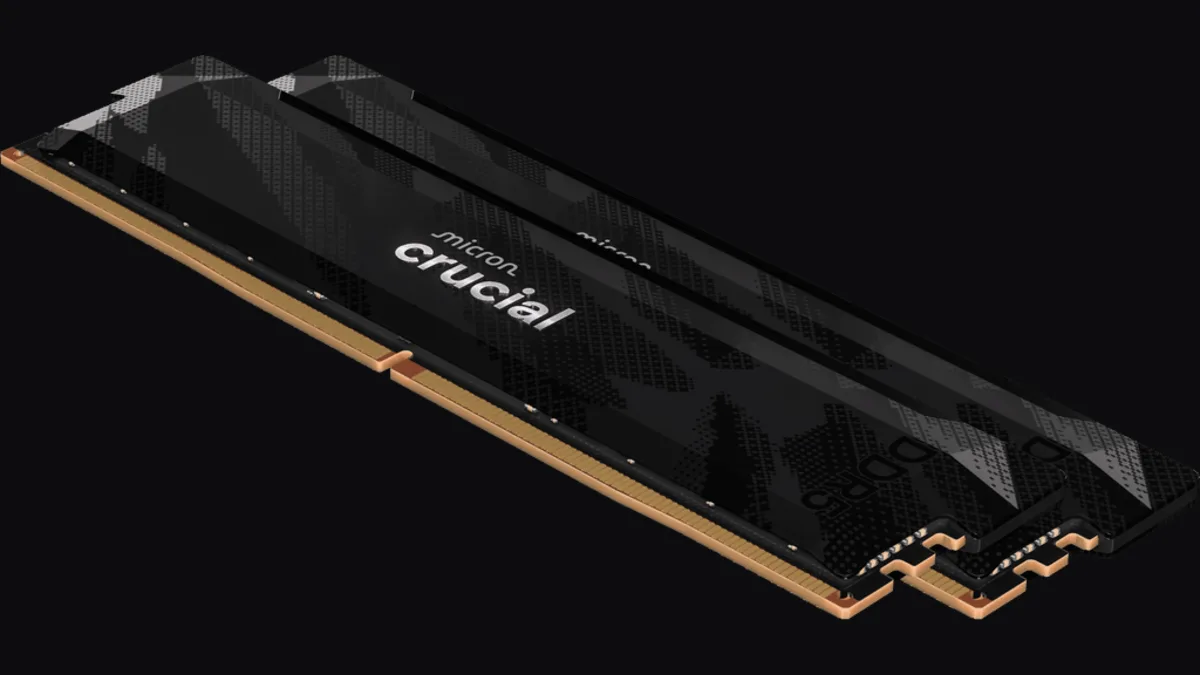
32GB (2x16GB) DDR5-6400 CL32 UDIMM kit from Crucial Pro — 1.35V overclocking memory with Intel XMP 3.0 and AMD EXPO for demanding desktop builds.
fanxiang S880R 1TB PCIe 4.0 NVMe M.2 SSD with built-in heatsink — up to 7300MB/s reads and 3D TLC NAND for high-performance desktop and console storage.