
Orico M.2 NVMe Enclosure Unboxing, Setup & Speed Test

Prerequisites
- Orico M.2 NVMe SSD enclosure (USB-C Gen 2, RTL9210 chipset)
- NVMe PCIe Gen 3/4 SSD
- Windows 10 PC
- True USB 3.2 Gen 2 Type-C port
- USB-C to C cable
- Small screwdriver
This tutorial takes about 4 minutes to complete.
Step 1: Unbox the Components
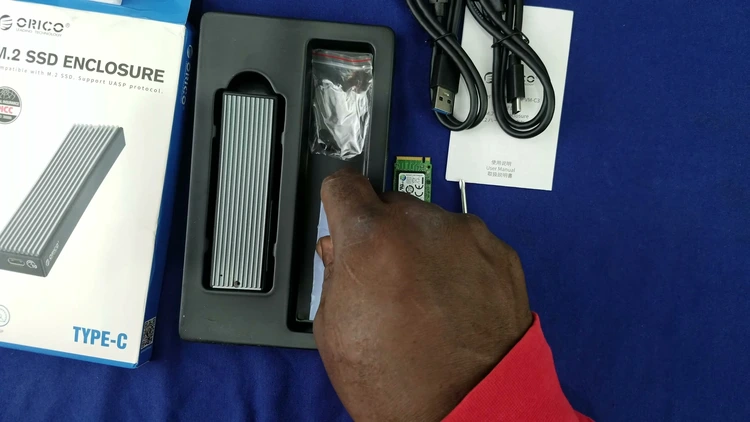
Open the packaging to reveal the aluminum enclosure, screws, a thermal pad, a small screwdriver, and both USB-C to C and USB-C to A cables. Inspect the compact case and its integrated cooling fins to ensure all hardware is present.
Step 2: Prepare the NVMe Drive
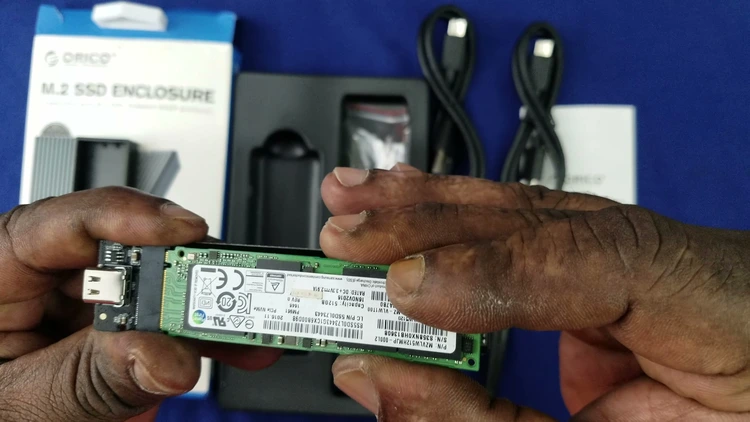
Align your NVMe PCIe Gen 3 or Gen 4 SSD with the M.2 slot on the enclosure's internal PCB. Gently slide the drive into the connector until it sits flush with the mounting point.
Step 3: Install the Thermal Pad
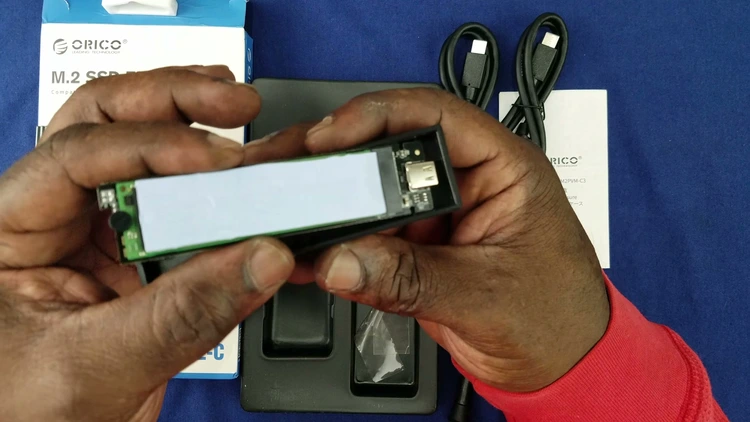
Place the provided thermal pad over the SSD controller area to manage heat during sustained transfers. Remember to peel off the protective plastic film from both sides before positioning the pad against the drive.
Step 4: Assemble the Enclosure
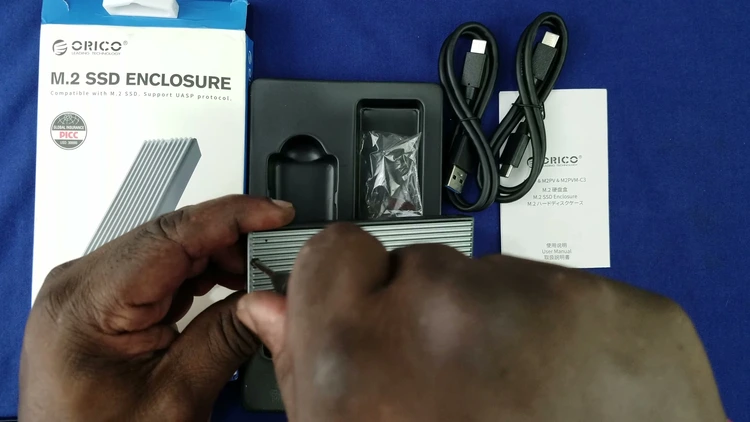
Lower the aluminum cover over the drive and secure it firmly with the included screws using the provided screwdriver. The tight seal ensures the cooling fins and thermal pad maintain proper contact with the SSD.
Step 5: Connect to Your Windows 10 PC
Use the USB-C to C cable to link the enclosure to a true USB 3.2 Gen 2 Type-C port on your computer. Avoid using older USB ports, as your achievable speed depends entirely on the host port's bandwidth capabilities.
Step 6: Verify Connection and Test Speed
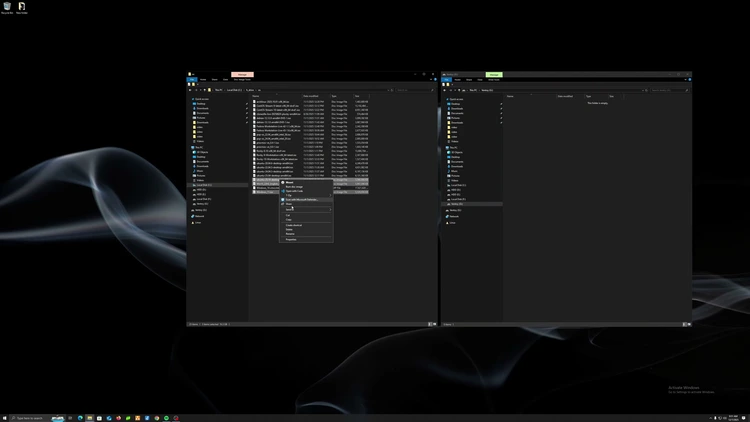
Once Windows 10 recognizes the device, open File Explorer to confirm the new drive is accessible. Run a file transfer test with large files like ISOs or use a benchmarking tool to verify real-world performance, which typically reaches around 600 to 1000 MB/s.
FAQ
Never miss an issue
One email a week on local LLMs, DIY AI hardware, and the tools that power them. No spam — unsubscribe anytime.
Subscribe free