AMD Ryzen 9 9950X
16-core, 32-thread AMD Ryzen 9 9950X desktop processor (Zen 5, AM5) with 5.7 GHz max boost and Radeon graphics — AMD's flagship mainstream CPU.
3 retailers


This tutorial takes about 3 minutes to complete.
Google Chrome doesn't come pre-installed on AlmaLinux 10, and it's not in the default repositories either. We'll grab it directly from Google.
Heads up: On AlmaLinux 10, there's one extra step compared to older versions — we need to import Google's signing key first, or the install will fail. I'll walk you through it.
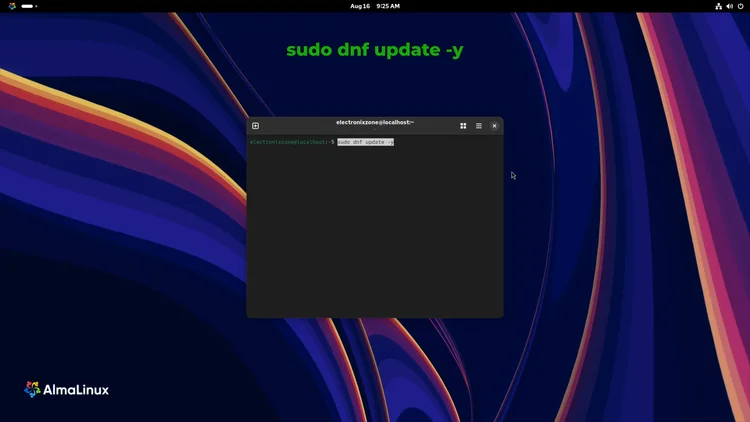
Before installing anything new, it's always good practice to update your system. This makes sure all your existing packages are current, which helps avoid dependency issues later.
sudo dnf update -y
Enter your password if asked for.
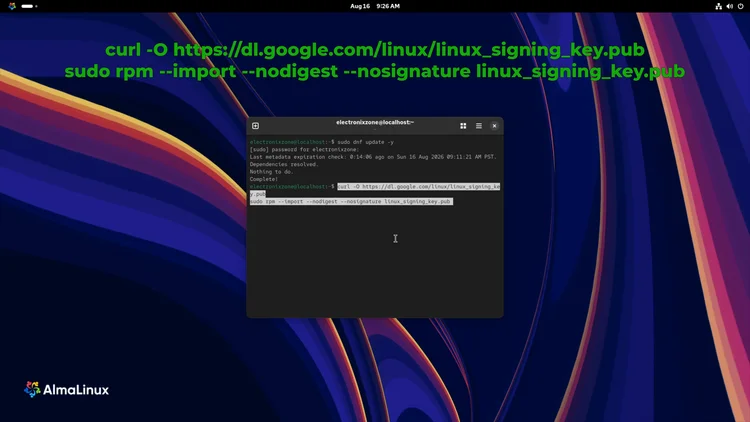
On AlmaLinux 10, before we install Chrome, we need to import Google's signing key.
curl -O https://dl.google.com/linux/linux_signing_key.pub
sudo rpm --import --nodigest --nosignature linux_signing_key.pub
You'll probably see a couple of warning lines pop up about the key. Don't worry — that's normal. Red Hat dropped support for the older signing method AlmaLinux 10 uses, but Google's key still imports fine. The actual Chrome package is verified separately when we install it, so there's nothing to fix here.
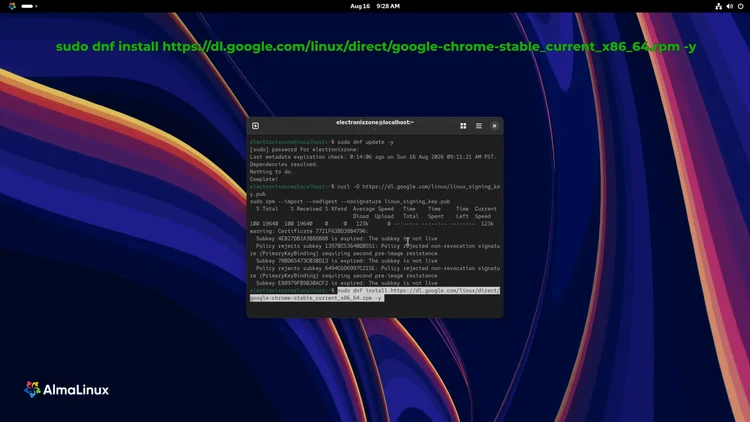
We'll use DNF and point it straight at Google's RPM, which handles the download and any dependencies automatically.
sudo dnf install https://dl.google.com/linux/direct/google-chrome-stable_current_x86_64.rpm -y
Using DNF here instead of RPM is important — it resolves dependencies for us so we don't run into missing library errors.
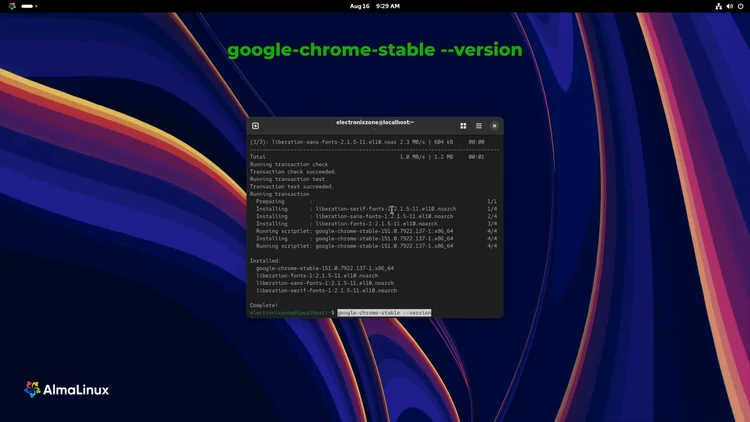
Once that finishes, let's confirm everything installed successfully.
google-chrome-stable --version
As you can see, Google Chrome has been successfully installed.
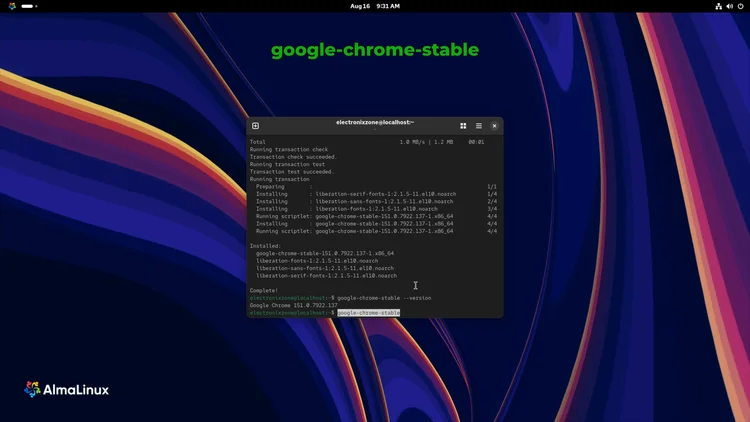
We can launch from the terminal, or from the applications menu.
From the terminal:
google-chrome-stable
From the applications menu: Go to your applications menu and double-click the Chrome icon.
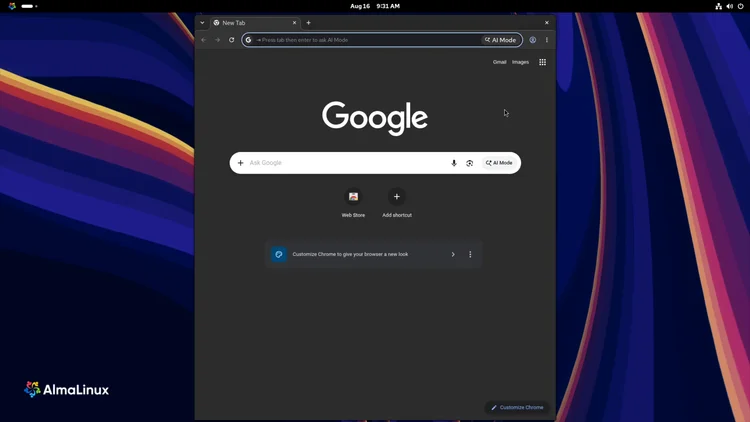
That's it. You've got Google Chrome up and running on AlmaLinux 10.
One email a week on local LLMs, DIY AI hardware, and the tools that power them. No spam — unsubscribe anytime.
Subscribe free16-core, 32-thread AMD Ryzen 9 9950X desktop processor (Zen 5, AM5) with 5.7 GHz max boost and Radeon graphics — AMD's flagship mainstream CPU.
AMD X870 ATX motherboard for AM5 with PCIe 5.0, DDR5, USB4, Wi-Fi 7 and 2.5GbE LAN — a modern foundation for Ryzen 9000-series desktop builds.
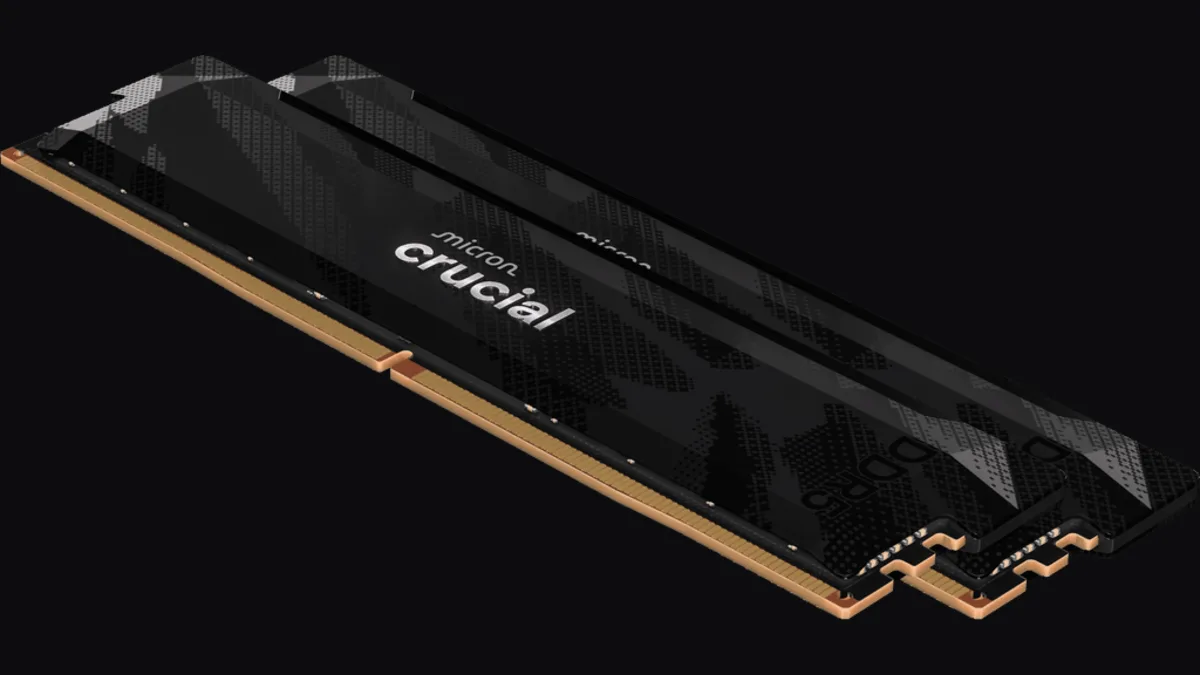
32GB (2x16GB) DDR5-6400 CL32 UDIMM kit from Crucial Pro — 1.35V overclocking memory with Intel XMP 3.0 and AMD EXPO for demanding desktop builds.
fanxiang S880R 1TB PCIe 4.0 NVMe M.2 SSD with built-in heatsink — up to 7300MB/s reads and 3D TLC NAND for high-performance desktop and console storage.