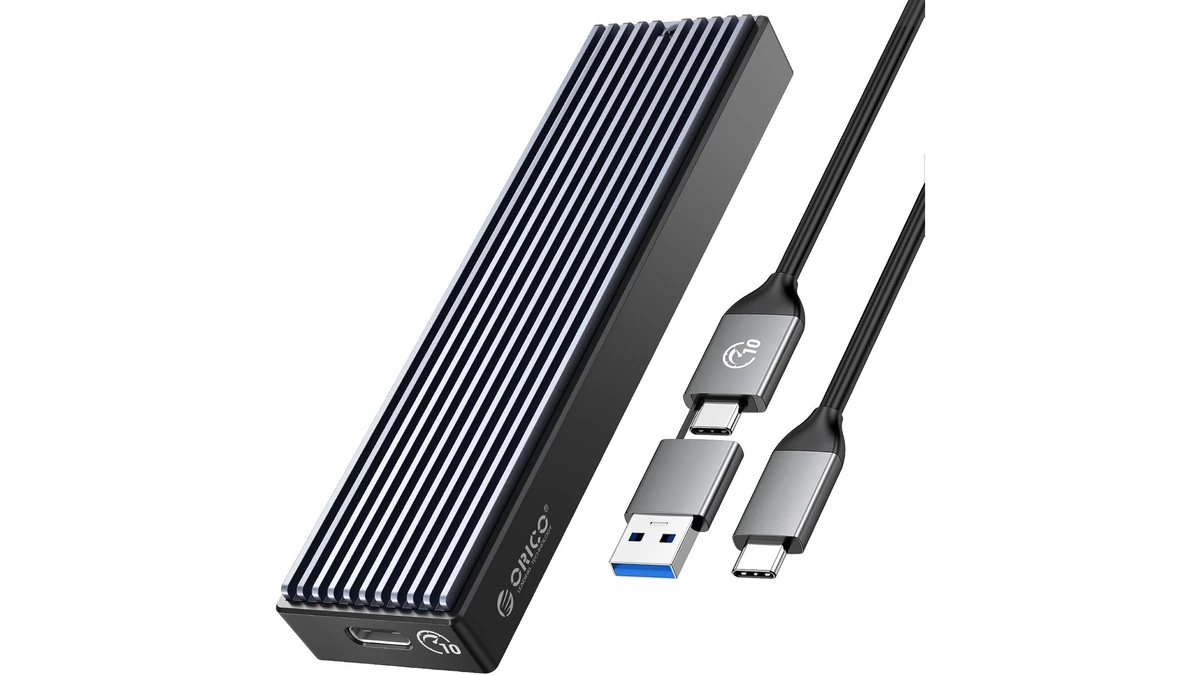
ORICO M.2 NVMe SSD Enclosure (10Gbps)
ORICO USB 3.1 Gen 2 (10Gbps) M.2 NVMe SSD enclosure supporting 2230/2242/2260/2280 form factors up to 8TB, with UASP support for fast external drive performance.
3 retailers


This tutorial takes about 7 minutes to complete.
This guide shows how to install Omarchy 4.0.6 on your PC, from downloading the ISO to your first login, and which installer options to pick as a beginner and why. It follows the video, with the exact keys, button names and options from the recording.
New to Ventoy? The Ventoy page explains what it is, and the Windows 11 Ventoy walkthrough shows the Windows steps in more detail.
Warning: this is a fresh install. It formats everything on the drive you select, and there is no disk partitioning or dual boot. Back up anything important first.
You need a PC, a USB stick or an external drive larger than 8 GB, and at least 25 GB of free disk space. You will also need a second computer, or the same PC while it still runs its current system, to download the ISO and prepare the USB drive. The video does this part on Windows 11, because many people switching to Linux are coming from Windows.
A wired internet connection is the easiest and most reliable way to connect.
Jump to a chapter in the video: Intro · Get the ISO · Ventoy USB · Copy ISO · Boot menu · Secure Boot fix · Install Omarchy · First boot
Open your browser and go to the official Omarchy download link, omarchy.org. Click Download Omarchy and your download should start. The video skips through the wait. When it is finished, go to your Downloads folder and you should see your Omarchy ISO.
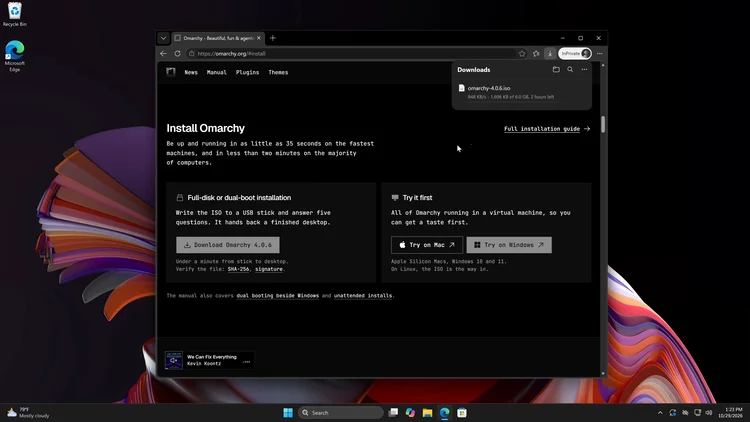
The video also puts the ISO in its own folder, which is optional but keeps it easy to find. Right-click the ISO and click Cut. Go to This PC and the C drive, right-click, choose New, then Folder, and name it ISO. Open the folder and paste the ISO there.
To make a bootable ISO drive, the video uses Ventoy. It turns your USB stick or external drive into a multi-boot ISO drive, so you can store multiple ISOs on it and boot from them.
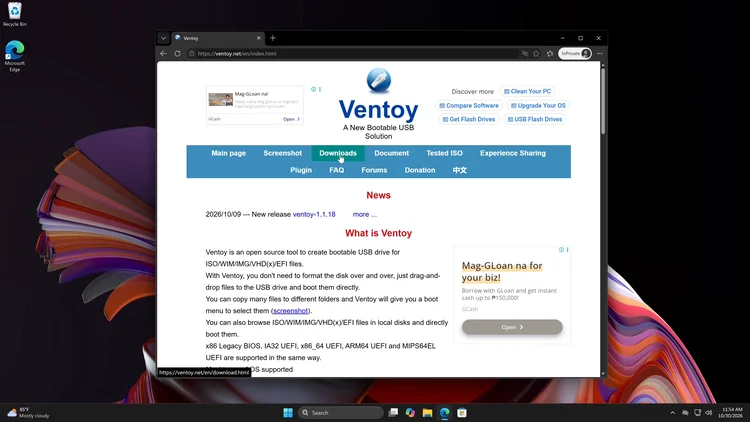
Open the browser and go to ventoy.net. Click Downloads, scroll down, find the Ventoy Windows zip file and click it. Scroll down and find the Windows zip file again, then click it. Your download should start shortly.
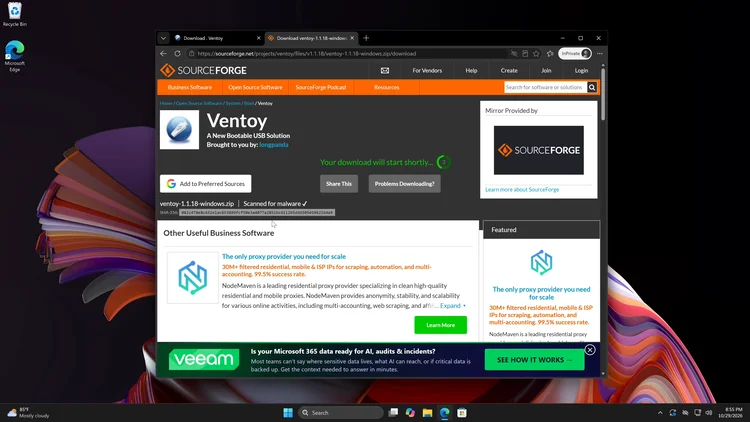
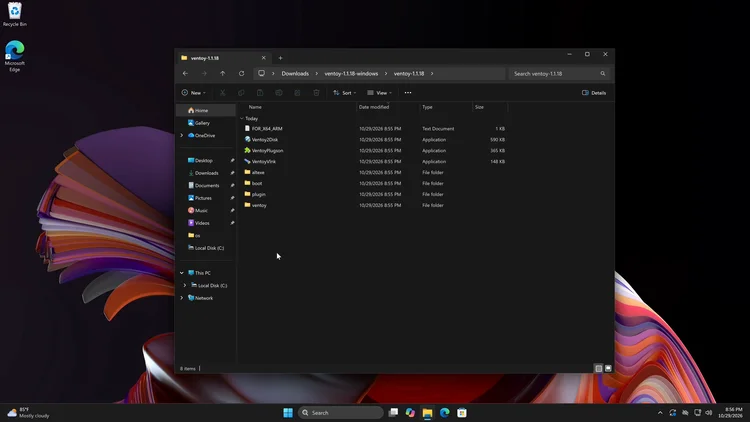
Once the download is finished, go to your Downloads folder and close the browser. Now you need to extract the zip file: right-click it, click Extract All, and then click Extract. The new folder should open.
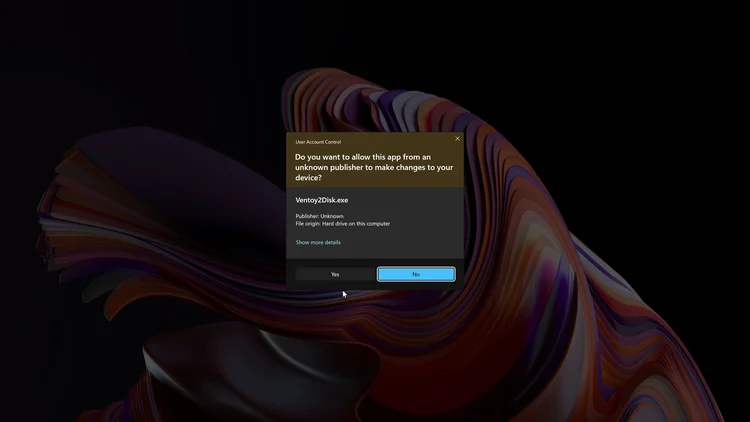
Go inside the Ventoy folder and look for the Ventoy2Disk application. Double-click it, and click Yes to give administrator access. Now the Ventoy application is open.
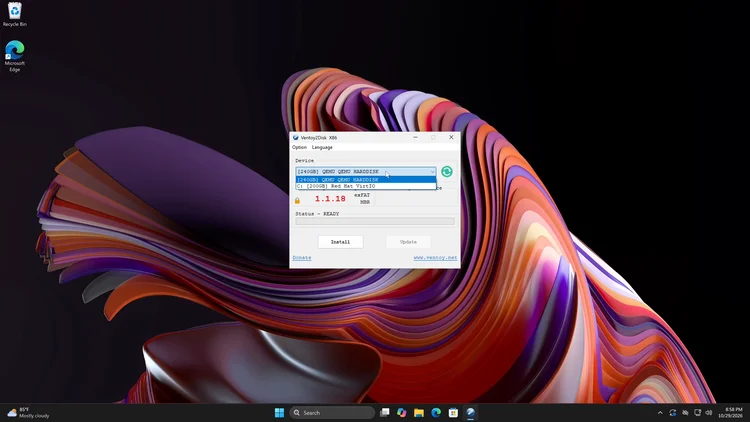
Connect your external USB drive. If you do not see your USB stick or external storage device, click the green refresh button. If you still do not see it, open the Options menu and click Show All Devices. This shows all the drives on your PC.
Warning: make sure not to install Ventoy on your main drive. Make sure you install it on your external drive. Also back up any important files you have, because this will format and erase everything on the disk.
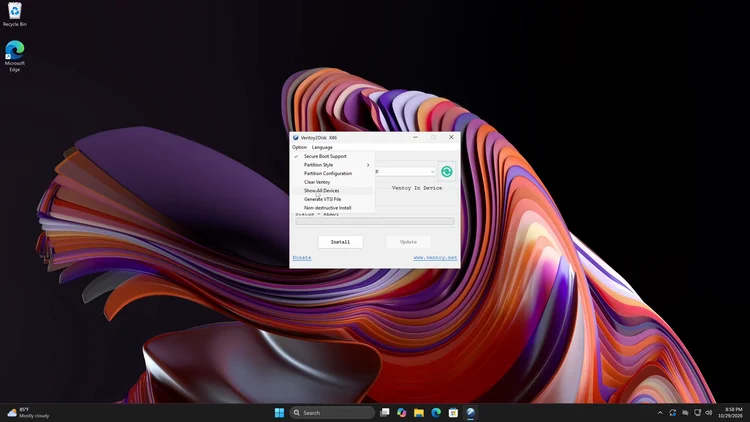
Open the Options menu again and make sure Secure Boot Support is checked. In case you have any problems with Secure Boot errors, this should help fix it. Step 9 shows how to fix the Secure Boot errors if you still get one.
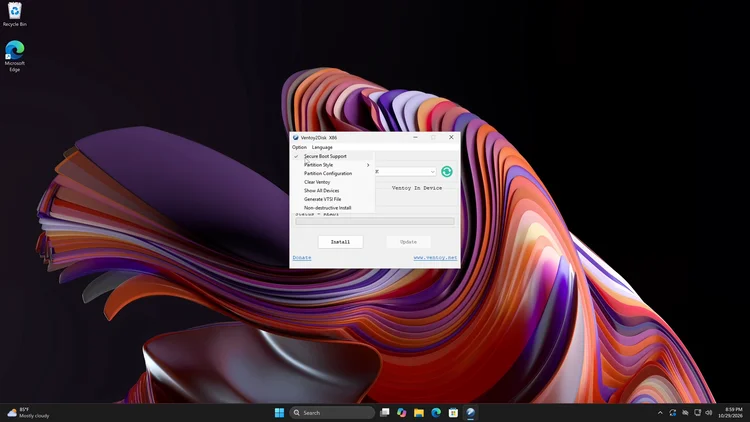
Make sure you have everything backed up from your drive, and then click Install. A warning says the device will be formatted and all the data will be lost. Click Yes to continue.
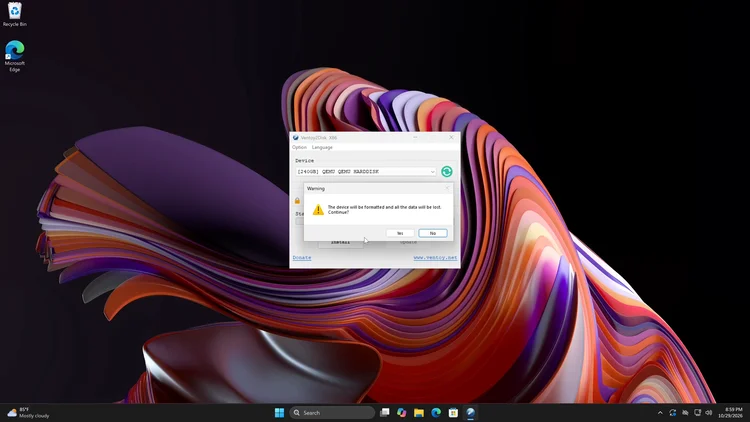
A second window double-checks that you want to format the device and lose all the data. You can click Yes.
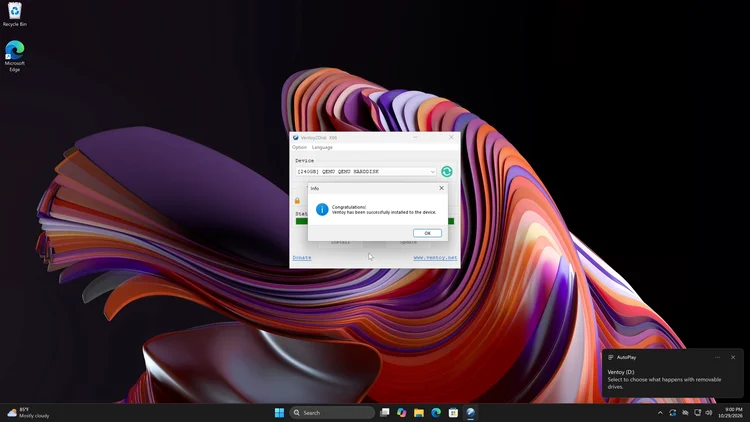
When it is finished you will see Congratulations: Ventoy has been successfully installed to the device. Click OK, and then close the Ventoy application.
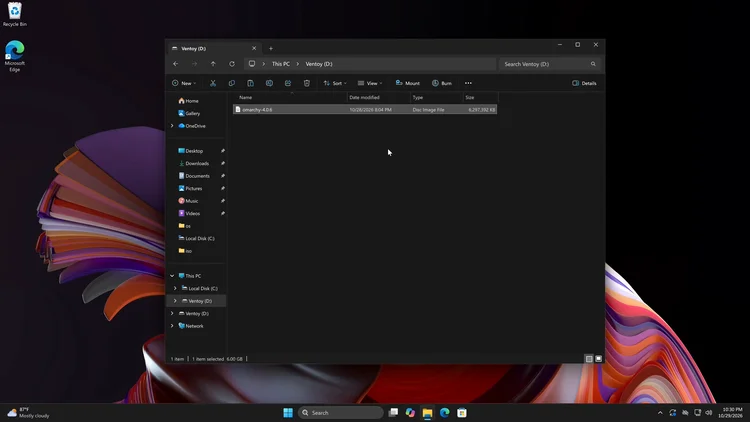
Open the file manager. If you look on the side, you can see your Ventoy drive. Go to This PC and the C drive, find the ISO folder, right-click the ISO file and copy it. Go back to This PC, double-click the Ventoy drive, then right-click and paste the ISO file. When the ISO file has finished copying to the Ventoy drive, close the window.
Tip: for blazing fast speeds and more storage space, use an external NVMe drive. The NVMe enclosure tutorial shows how to build your own NVMe drive with an NVMe enclosure, and the Orico M.2 NVMe enclosure page has the product details.
Shut down your computer and reboot into the BIOS or boot menu. Plug the USB into the PC you are installing on, then restart and tap the boot menu key right as it powers on. The key depends on the brand. Here are some common ones.
| Brand | Boot menu key | BIOS setup key |
|---|---|---|
| Dell | F12 | F2 |
| HP | Esc, then F9 | Esc, then F10 |
| Lenovo | F12 (or the Novo button) | F2 or F1 |
| ASUS | Esc or F8 | Del or F2 |
| Acer | F12 (turn on "F12 Boot Menu" in BIOS first) | F2 or Del |
| MSI (motherboard) | F11 | Del |
| Gigabyte (motherboard) | F12 | Del |
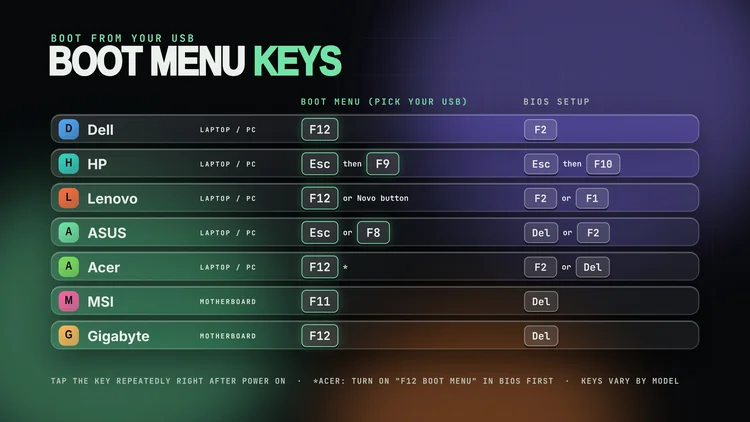
You could also check your motherboard's documentation. Keys vary by model. If yours does not work, check the manual of your computer or motherboard.
Tap the key, do not hold it. Tap it repeatedly right after you press the power button, with the USB already plugged in. The boot menu lets you pick the USB drive once, and the BIOS setup key opens the firmware settings, where you can change the boot order.
Acer: on some models the F12 boot menu must first be enabled in the BIOS. Press F2, go to Main, set F12 Boot Menu to Enabled, then save and restart. Lenovo: many models also have a small Novo button that opens a boot menu.
If the key does nothing: fast boot can use up your keystrokes. On a Windows PC, hold Shift and click Restart, then choose Use a device and pick your USB drive. To open the BIOS setup that way, go to Troubleshoot, Advanced options, then UEFI Firmware Settings.
The boot menu keys for Dell, HP, Lenovo, ASUS, Acer, MSI and Gigabyte are the ones said in the video. The BIOS setup keys, the Novo button and the Acer setting come from the manufacturers' support pages and other published lists: Dell, HP, MSI, Acer and the Gigabyte BIOS manual.
In your boot menu, locate your Ventoy drive. In the video, the first device shown is the Ventoy drive. Select it and press Enter.
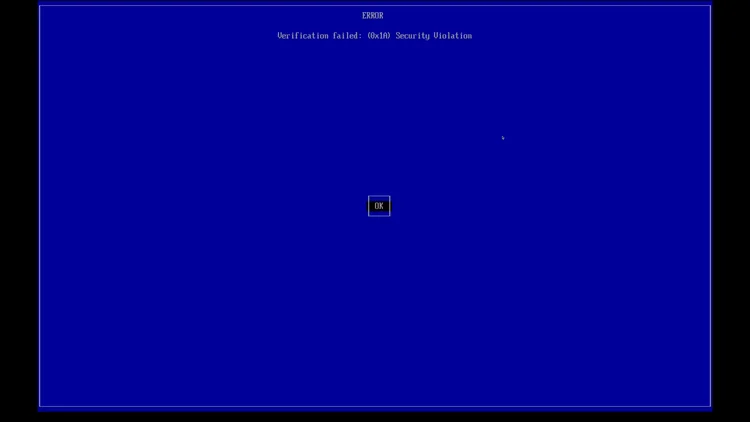
If you see the error Verification failed: (0x1A) Security Violation, the video calls it the infamous secure boot failure. This is one of the Secure Boot errors, and the fix only takes a minute. Press Enter for OK. When it asks you to press any key to perform MOK management, press Enter.
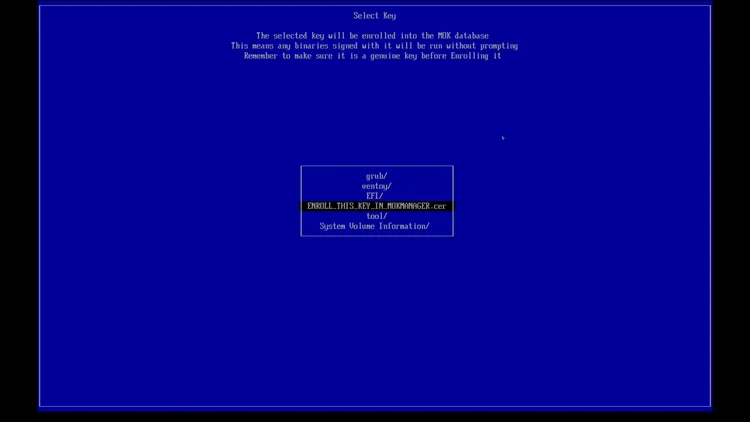
Go down to Enroll key from disk and press Enter. The selected key will be enrolled into the MOK database. Make sure you select VTOYEFI and press Enter. Then scroll down until you see ENROLL_THIS_KEY_IN_MOKMANAGER.cer and press Enter.
Go down to Continue and press Enter. Choose to enroll the keys, scroll down to Yes and press Enter. Then press Enter again to reboot the PC.
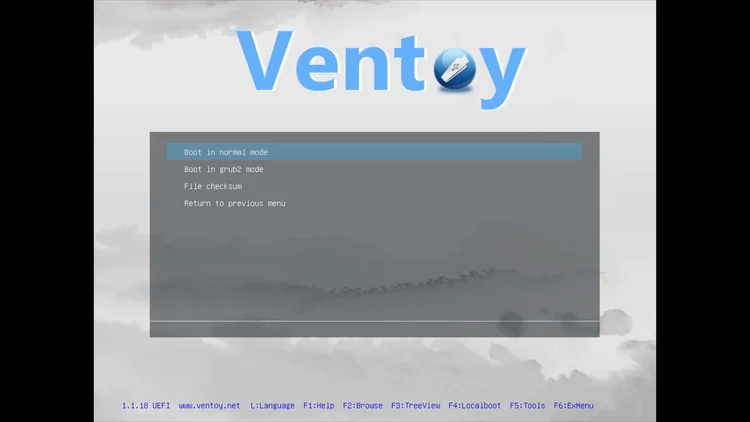
After the reboot, Ventoy has successfully booted. Select Omarchy 4.0.6 and hit Enter, boot into normal mode, and press Enter to start the install.
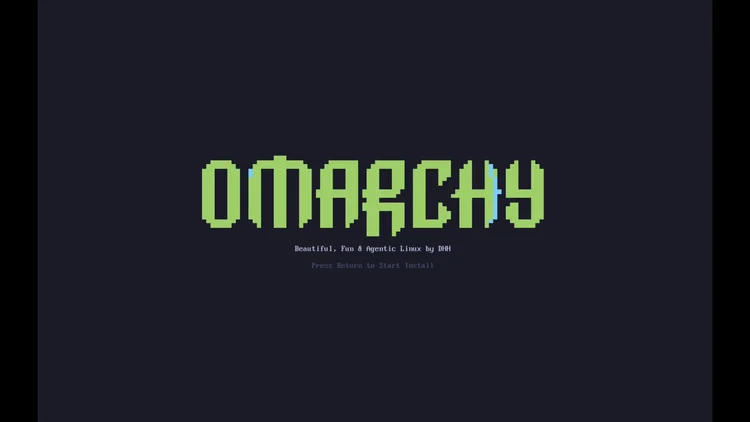
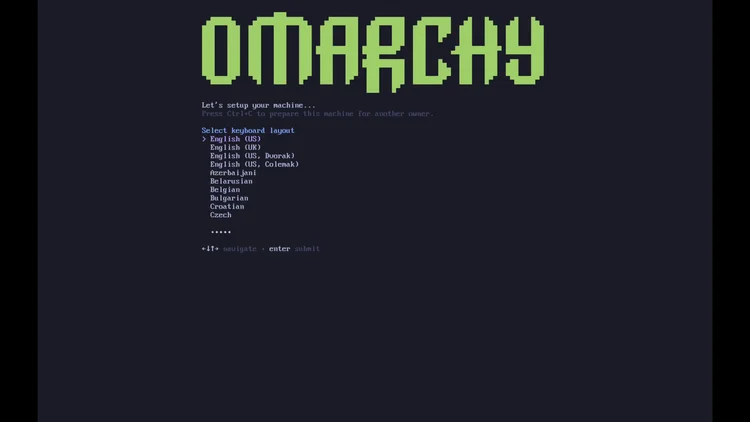
The Omarchy installer is a text screen that you drive with the keyboard. These are the choices from the video, one screen at a time.
For the keyboard layout, the video selects English. Then enter your username and hit Enter. Enter your password and hit Enter, then enter your password again so the installer can confirm that it matches, and hit Enter.
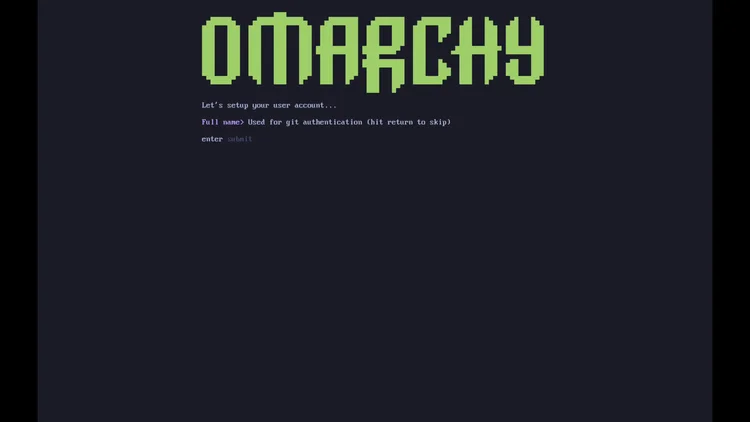
Next you can set up your user account for Git authentication. The video skips this and hits Enter. You can also enter your email address for Git authentication, but the video skips this too and hits Enter.
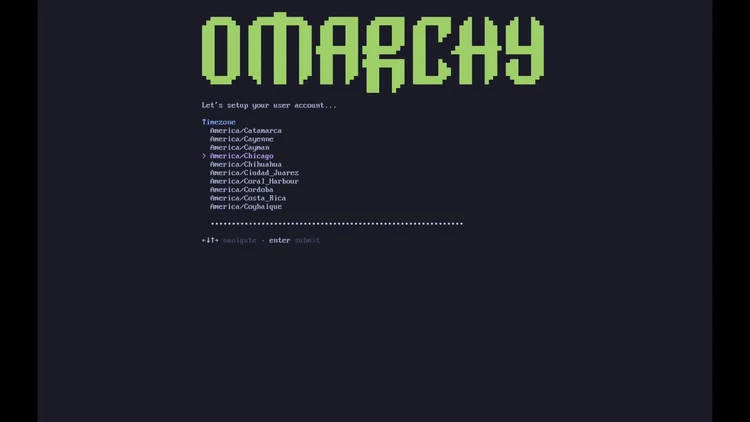
Set your host name and hit Enter, then enter your time zone and hit Enter.
The installer shows a review of your setup. Check everything to make sure it looks okay. If everything is okay, click Yes.
Here you need to be very careful. Make sure you select the correct drive that you want to install Omarchy on. The screen shows the Ventoy drive and also the hard drive, and the video selects its hard drive. The video is not setting up a dual boot: it formats the whole drive, erases everything and starts fresh. Also make sure to back up anything important before you format.
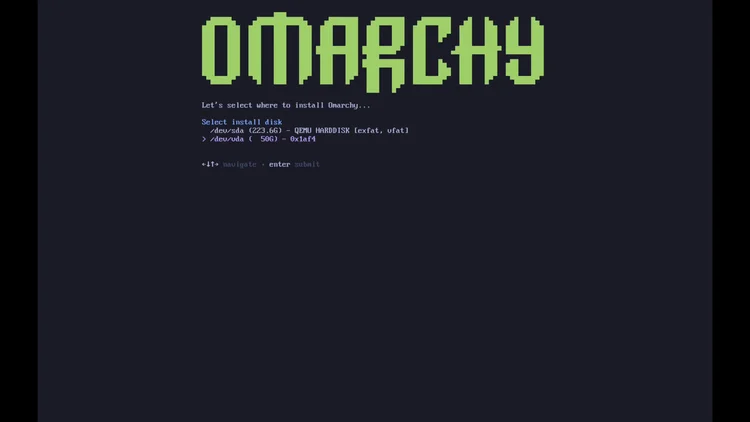
Select your drive. The installer confirms that everything will be erased, and you click Yes to install.
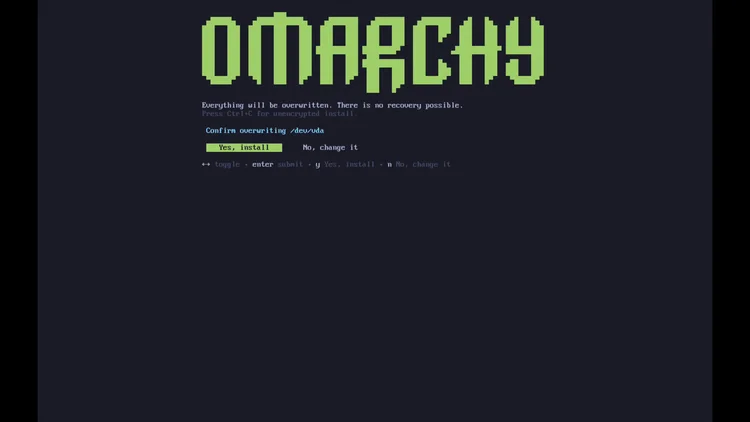
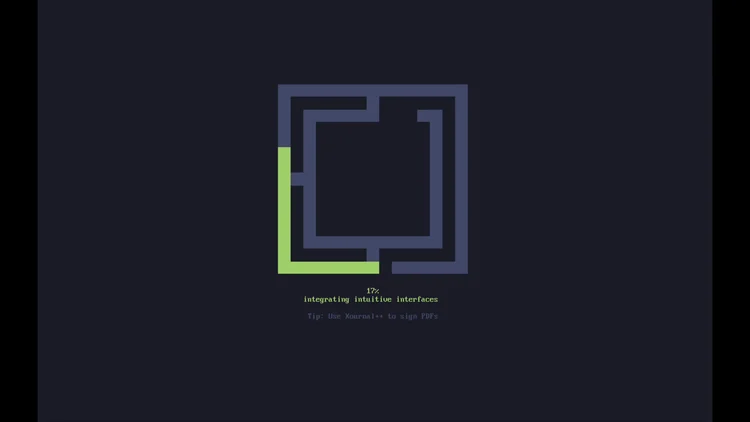
When the install has finished, reboot your PC. To access Omarchy, type the password you entered earlier.
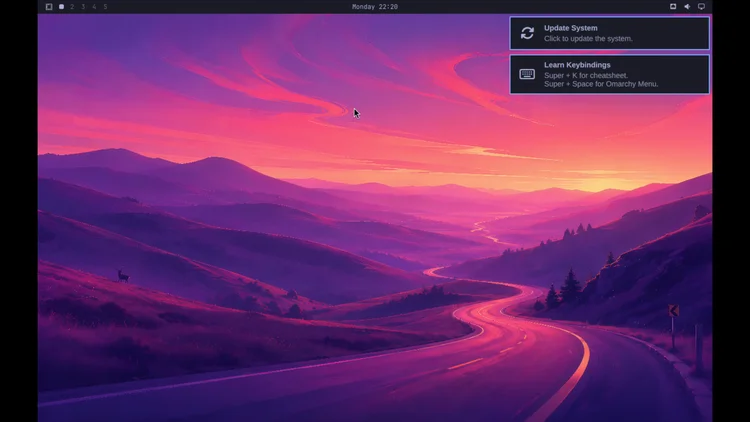
The first thing to do is update the system: click Update System, select Yes and press Enter, then enter your password.
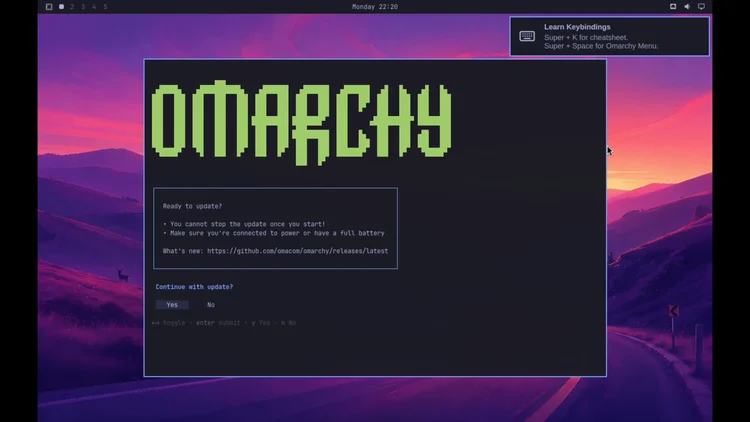
When the update is done, click Yes to reboot. Then select Omarchy and enter your password.
You have now downloaded the Omarchy 4.0.6 ISO, made a Ventoy USB, booted it with your boot menu key, installed Omarchy 4.0.6 and updated the system. In the next video you will see how to connect local AI to Omarchy.
How to Install openSUSE Leap 16 (Step by Step for Beginners): the same install for openSUSE Leap 16.
How to Install Pop!_OS 24.04 (Step by Step for Beginners): the same install for Pop!_OS 24.04.
How to Install Zorin OS 18.1 (Step by Step for Beginners): the same install for Zorin OS 18.1.
How to Install Ventoy on a Drive from Windows 11: the Ventoy steps used here, in detail.
Orico M.2 NVMe Enclosure Unboxing, Setup & Speed Test: build a fast external drive for your Ventoy setup.
One email a week on local LLMs, DIY AI hardware, and the tools that power them. No spam — unsubscribe anytime.
Subscribe freeORICO USB 3.1 Gen 2 (10Gbps) M.2 NVMe SSD enclosure supporting 2230/2242/2260/2280 form factors up to 8TB, with UASP support for fast external drive performance.