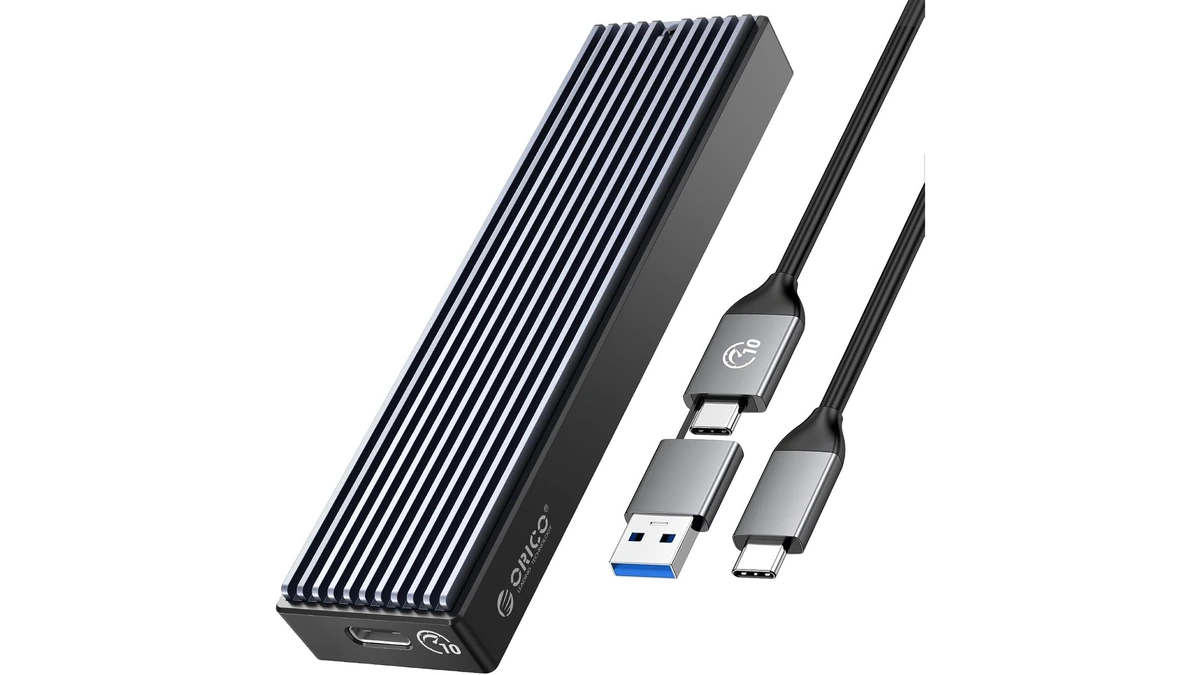
ORICO M.2 NVMe SSD Enclosure (10Gbps)
ORICO USB 3.1 Gen 2 (10Gbps) M.2 NVMe SSD enclosure supporting 2230/2242/2260/2280 form factors up to 8TB, with UASP support for fast external drive performance.
3 retailers


This tutorial takes about 6 minutes to complete.
This guide shows how to install Ventoy on Ubuntu 24.04 Desktop, copy ISO files onto the Ventoy drive, and boot four of them from one external drive. It follows the video.
New to Ventoy? The What Is Ventoy? video explains what it is, how it can help you and what the benefits are.
Warning: Installing Ventoy formats the device and erases everything on it. Back up your files first.
You need a computer running Ubuntu 24.04, an external USB drive, sudo privileges, access to https://ventoy.net to download Ventoy, and a few ISO files you want to boot. The video uses CachyOS, Clonezilla, Proxmox and Windows 11.
Jump to a chapter in the video: Intro · Download Ventoy · Extract and run · Install Ventoy · Add your ISOs · Boot test
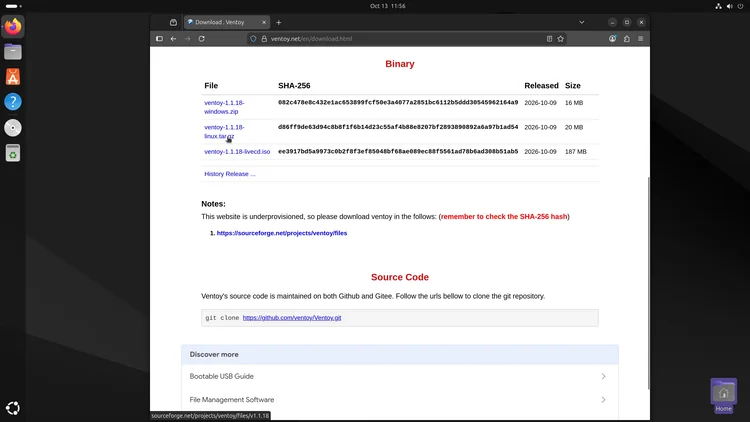
Open your favorite browser and type https://ventoy.net in the search bar. Press Enter, click the Downloads tab and scroll down until you see the linux.tar.gz file. Click it, scroll down again, find the linux.tar.gz file and click it to download. The download starts shortly.
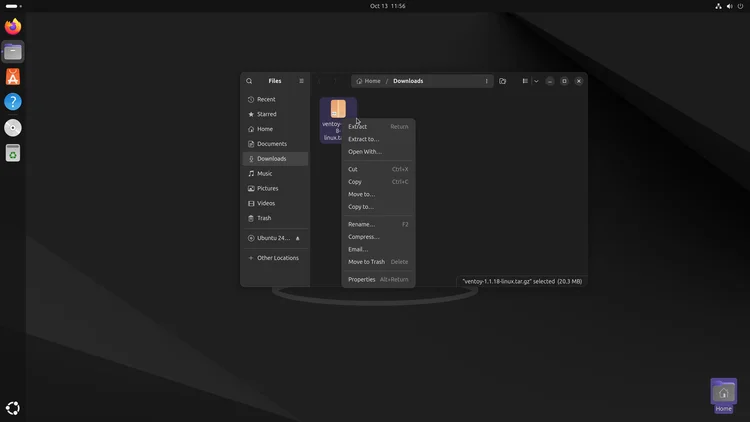
When the download finishes, click the folder icon, then close the browser. Right-click the linux.tar.gz file and click Extract. You can delete the linux.tar.gz file afterwards. Click inside the Ventoy folder, then click inside again.
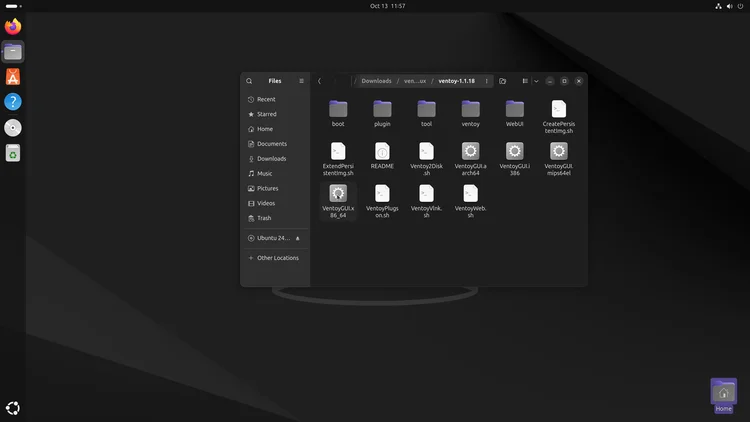
If you have an AMD or Intel processor, click the VentoyGUI.x86_64 file. You need sudo privileges for this, so enter your password. The Ventoy application opens. You can close the folder window.
Connect your external USB drive. If you do not see it in the device drop-down menu, click the green refresh button. If it still does not appear, go to Options and click Show All Devices.
Warning: Show All Devices lists every drive on your computer, including your main hard drive. Make sure you select the correct drive: you do not want to format your main hard drive. This option is unchecked by default for that reason.
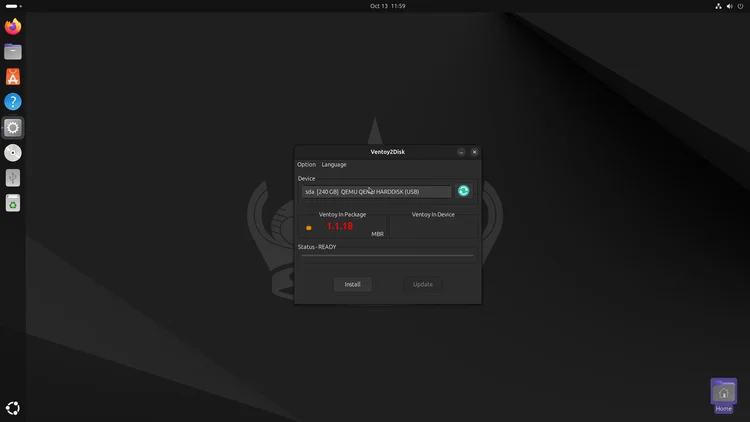
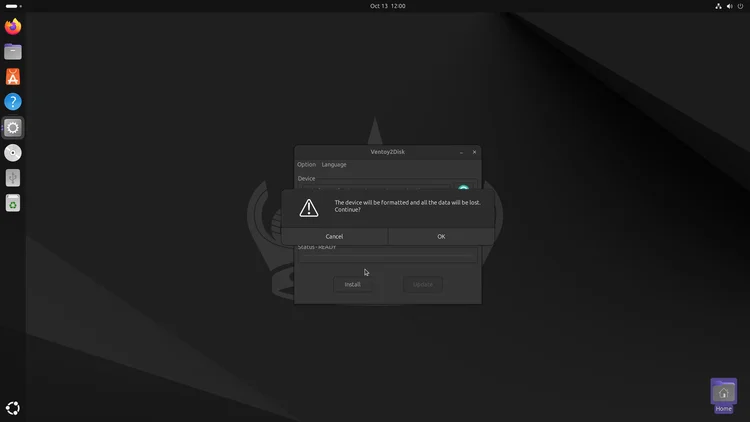
With the correct drive selected, click Install. A message says the device will be formatted and all the data will be lost, so be sure you have a backup; click OK. A second prompt asks you to continue (Double Check); click OK again. When Ventoy reports that it has been successfully installed to the device, click OK.
To keep things organized, move the Ventoy folder from the Downloads folder to your home folder: open Downloads, right-click the folder, choose Cut, go to your home folder and paste. Double click inside the folder, then double click inside again and run the VentoyGUI.x86_64 file. After you enter your password, the program still works.
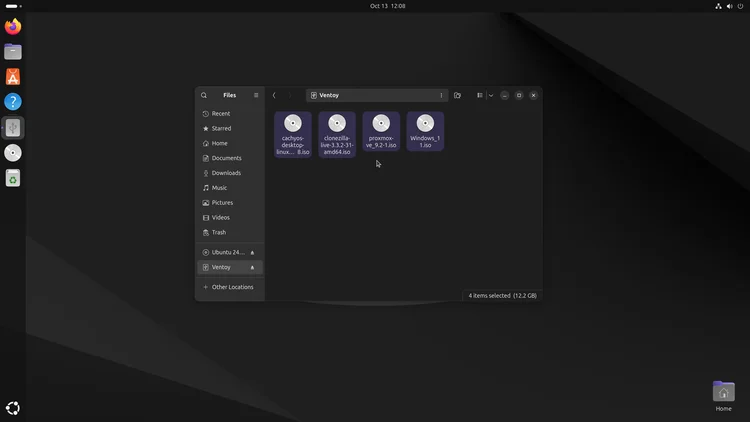
Open the os folder that holds your ISO files. The video has CachyOS, Clonezilla, Proxmox and Windows 11 ISOs there. Copy them, then go to your Ventoy drive and paste them. Wait until the copy finishes.
Tip: For faster transfer speeds and much more storage space, use an external NVMe drive. The NVMe tutorial linked below shows how to build one.
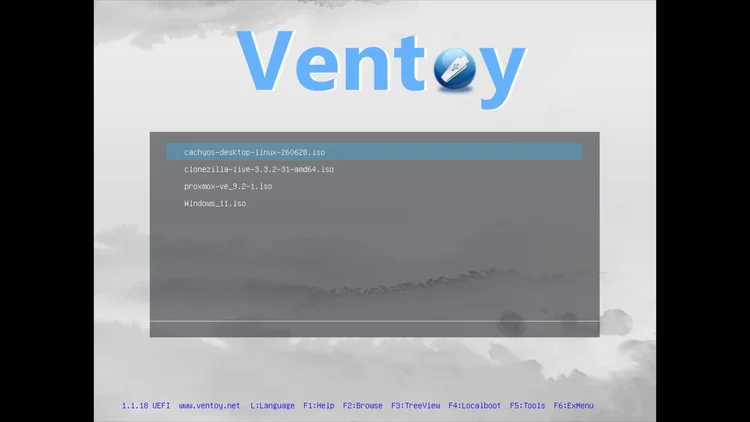
Close the folder and reboot the computer. Check your manufacturer's documentation to see how to boot into the boot menu or the BIOS, and make the Ventoy drive the first boot option. Press Enter on it to open the Ventoy menu, which lists CachyOS, Clonezilla, Proxmox and Windows 11. Select an ISO, press Enter, and choose Boot in normal mode. In the video all four booted successfully. To try the next one, shut down or exit and boot from the Ventoy drive again.
One email a week on local LLMs, DIY AI hardware, and the tools that power them. No spam — unsubscribe anytime.
Subscribe freeORICO USB 3.1 Gen 2 (10Gbps) M.2 NVMe SSD enclosure supporting 2230/2242/2260/2280 form factors up to 8TB, with UASP support for fast external drive performance.